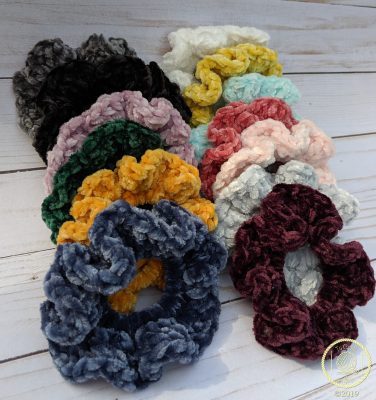
Can anyone feel that? It’s the 90s and they’re back full speed in the fashion world. Seriously!!! I’m seeing remnants of my childhood all over the place. Movie reboots, Planter’s cheese balls, choker necklaces, mom jeans, denim everything… And then there are scrunchies. I never thought I’d see the day and there’s a part of me screaming in glee over this. I LOVED scrunchies! They were so comfortable to wear and I couldn’t get enough of all of the styles. I’ll never forget the day one of the girls in my class told me that “scrunchies are out” and the dismay I felt. But here we are and they’ve come back in full swing, and what better way to celebrate this moment than to share a pattern?
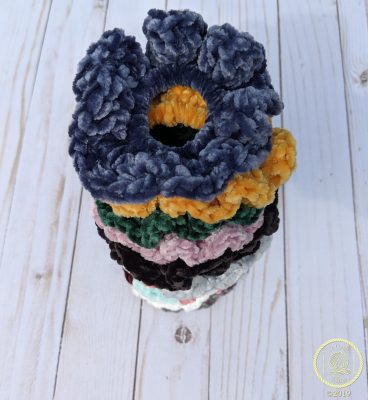
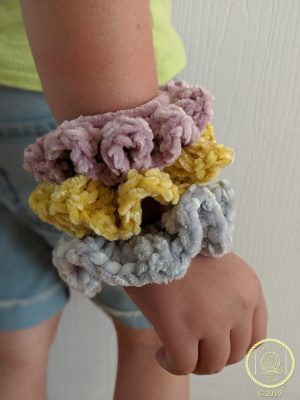
Velvet hair scrunchies are especially popular right now and with all of the velvet-textured yarns out there, I couldn’t resist trying my hand at it! This pattern is so quick to work up and will make a great gift for any other scrunchie enthusiast in your life. Seriously guys, this is a 20 minute at most project! You could make a set of these in an hour if you wanted to. So what are you waiting for? Keep the 90s alive with this velvet scrunchie pattern!
Materials
- Bernat velvet yarn or Lion Brand Vel-luxe yarn in any color
- 5.5mm crochet hook
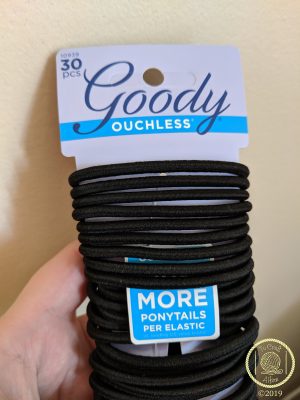
- Goody brand Ouchless hair ties
- Embroidery needle
First let’s talk about the hair ties. I definitely recommend Goody brand Ouchless hair ties. Not only are these super easy to find in any department store, but I’ve had the most success with this brand in my life, and speaking as somebody with thick hair, QUALITY HAIR TIES ARE IMPORTANT. The point here is that you’ll want to use a very sturdy, strong hair tie that will hold up to stretch. If your hair tie ends up breaking, your whole scrunchie will unravel and we don’t want that!
As far as velvet yarn goes, you may choose to use any brand of velvet yarn whether it be Lion Brand Vel-luxe or Bernat Velvet Baby or just standard Bernat Velvet. Any velvet yarn will do! I have found that the thickness of the brands do vary slightly, but this pattern is easy enough to work through where that shouldn’t matter. You may just need to add a couple of stitches!
Now onto making the scrunchie itself!
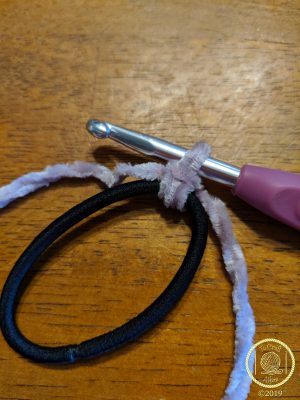
Step 1: You will first attach your velvet yarn to your hair tie with a slip knot as follows:
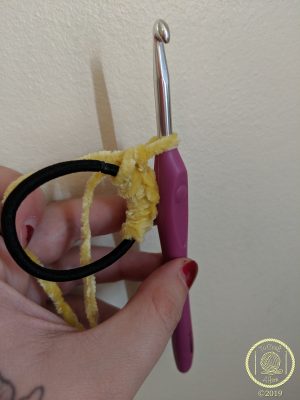
Step 2: Next you will work 40 sc stitches around your hair band. For the first 10 sc I did sc over the loose tail I had from my original slip knot. This is not necessary, but I find it to be an easy way to weave in the ends after the hair scrunchie is complete, as all you’ll need to do is pull at that point. *As stated above, different brands of velvet yarn may differ in weight/thickness, so if you find any part of your hair tie still showing, feel free to add a few more stitches.
Step 3: Ch 2. In the same space as your ch 2, place 1 dc. Place 2 dc in each st around. The piece will begin to form a wavy scrunchie shape as your crochet. Once complete you will have a total of 80 dc.
Step 4: Fasten off and weave in all of your ends. Take care in doing so because this piece will stretch and easily expose your ends if they are not thoroughly woven in!!!
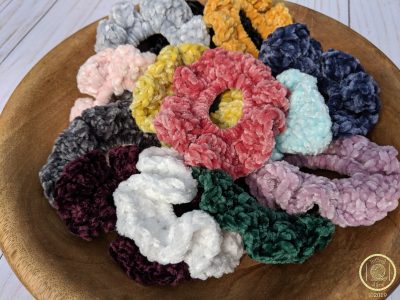
And that’s it! That’s all there is to it! Like I said, these work up insanely fast and are perfect for last minute gifts or holiday stocking stuffers. I myself like to make them up and sell them at local craft fairs. Well… At least when my daughter isn’t busy taking them all!
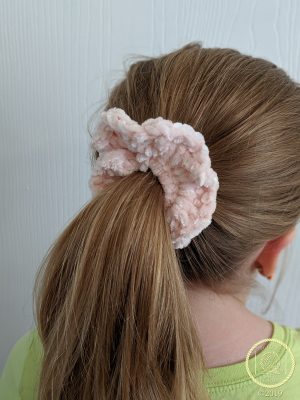
Enjoy and happy crocheting!
All designs & pictures are copyrighted by To Craft A Home 2019. Pattern is for personal use only and can’t be resold, republished, or redistributed in any way. You may sell the finished project if you so desire, but please give credit and link to my website or my Etsy
Find more of my patterns on Ravelry

Whoa! This blog looks just like my old one! It’s on a totally
different topic but it has pretty much the same page layout
and design. Superb choice of colors!
Appreciate this post. Let me try it out.