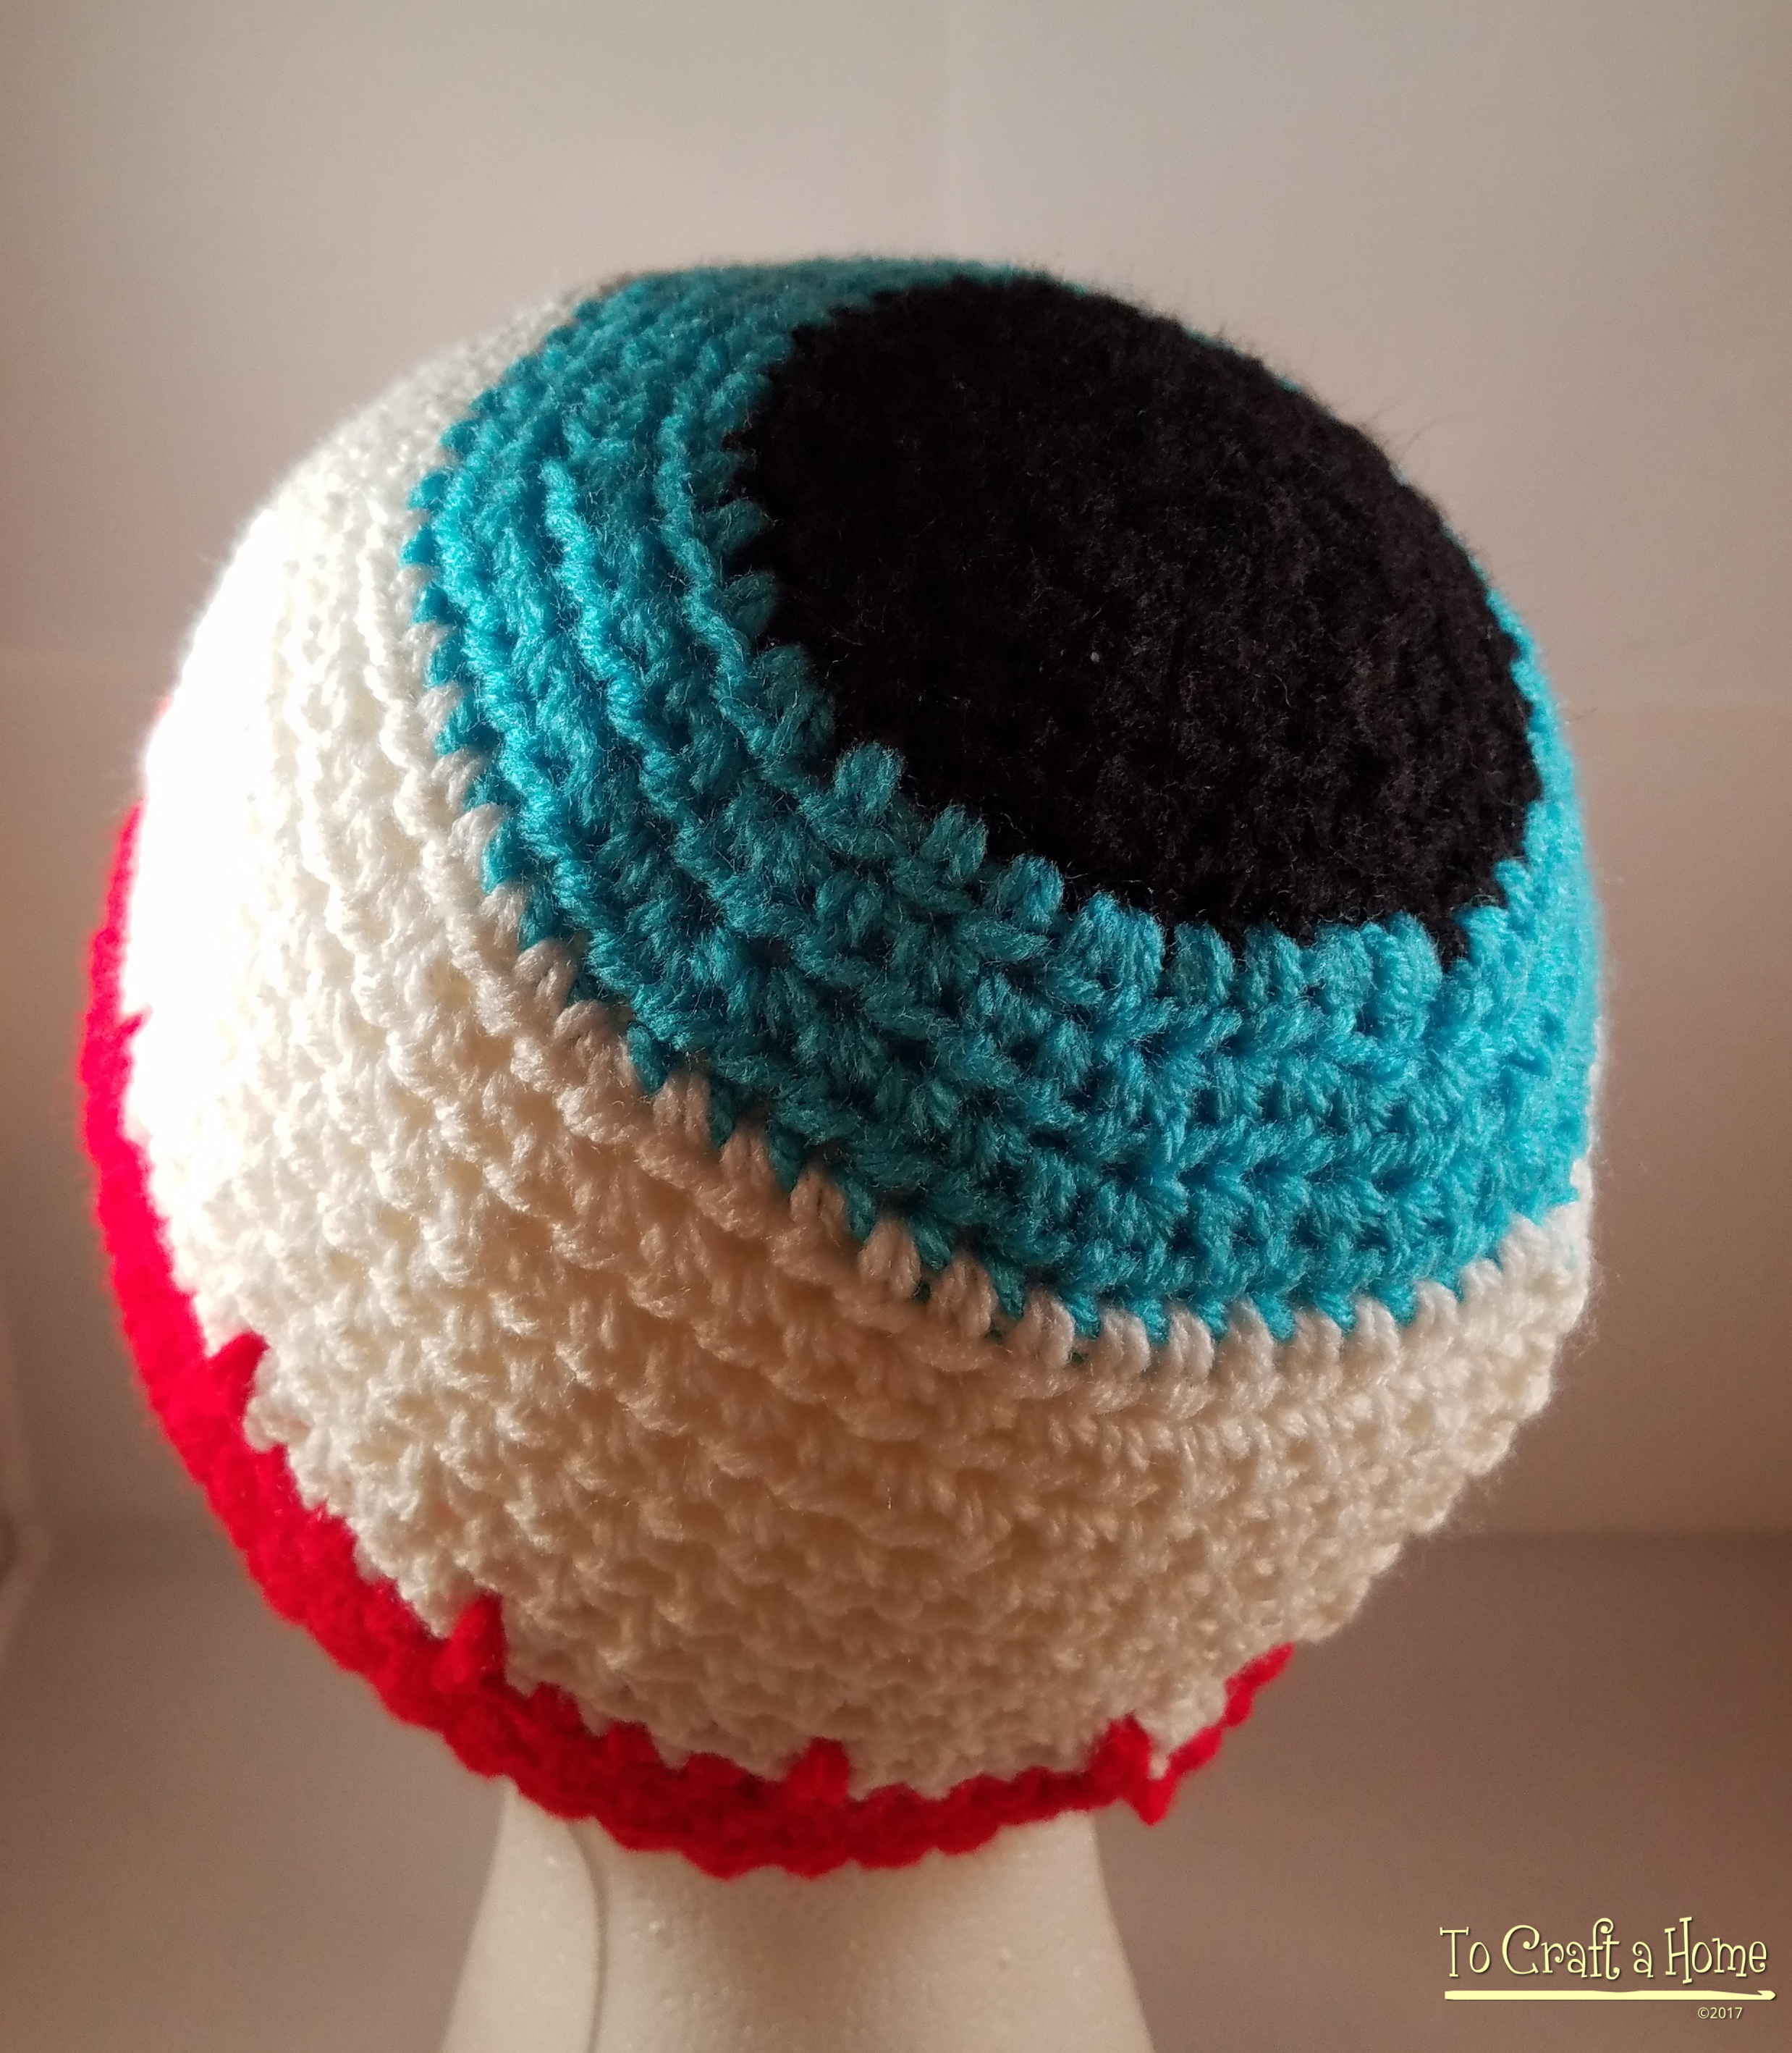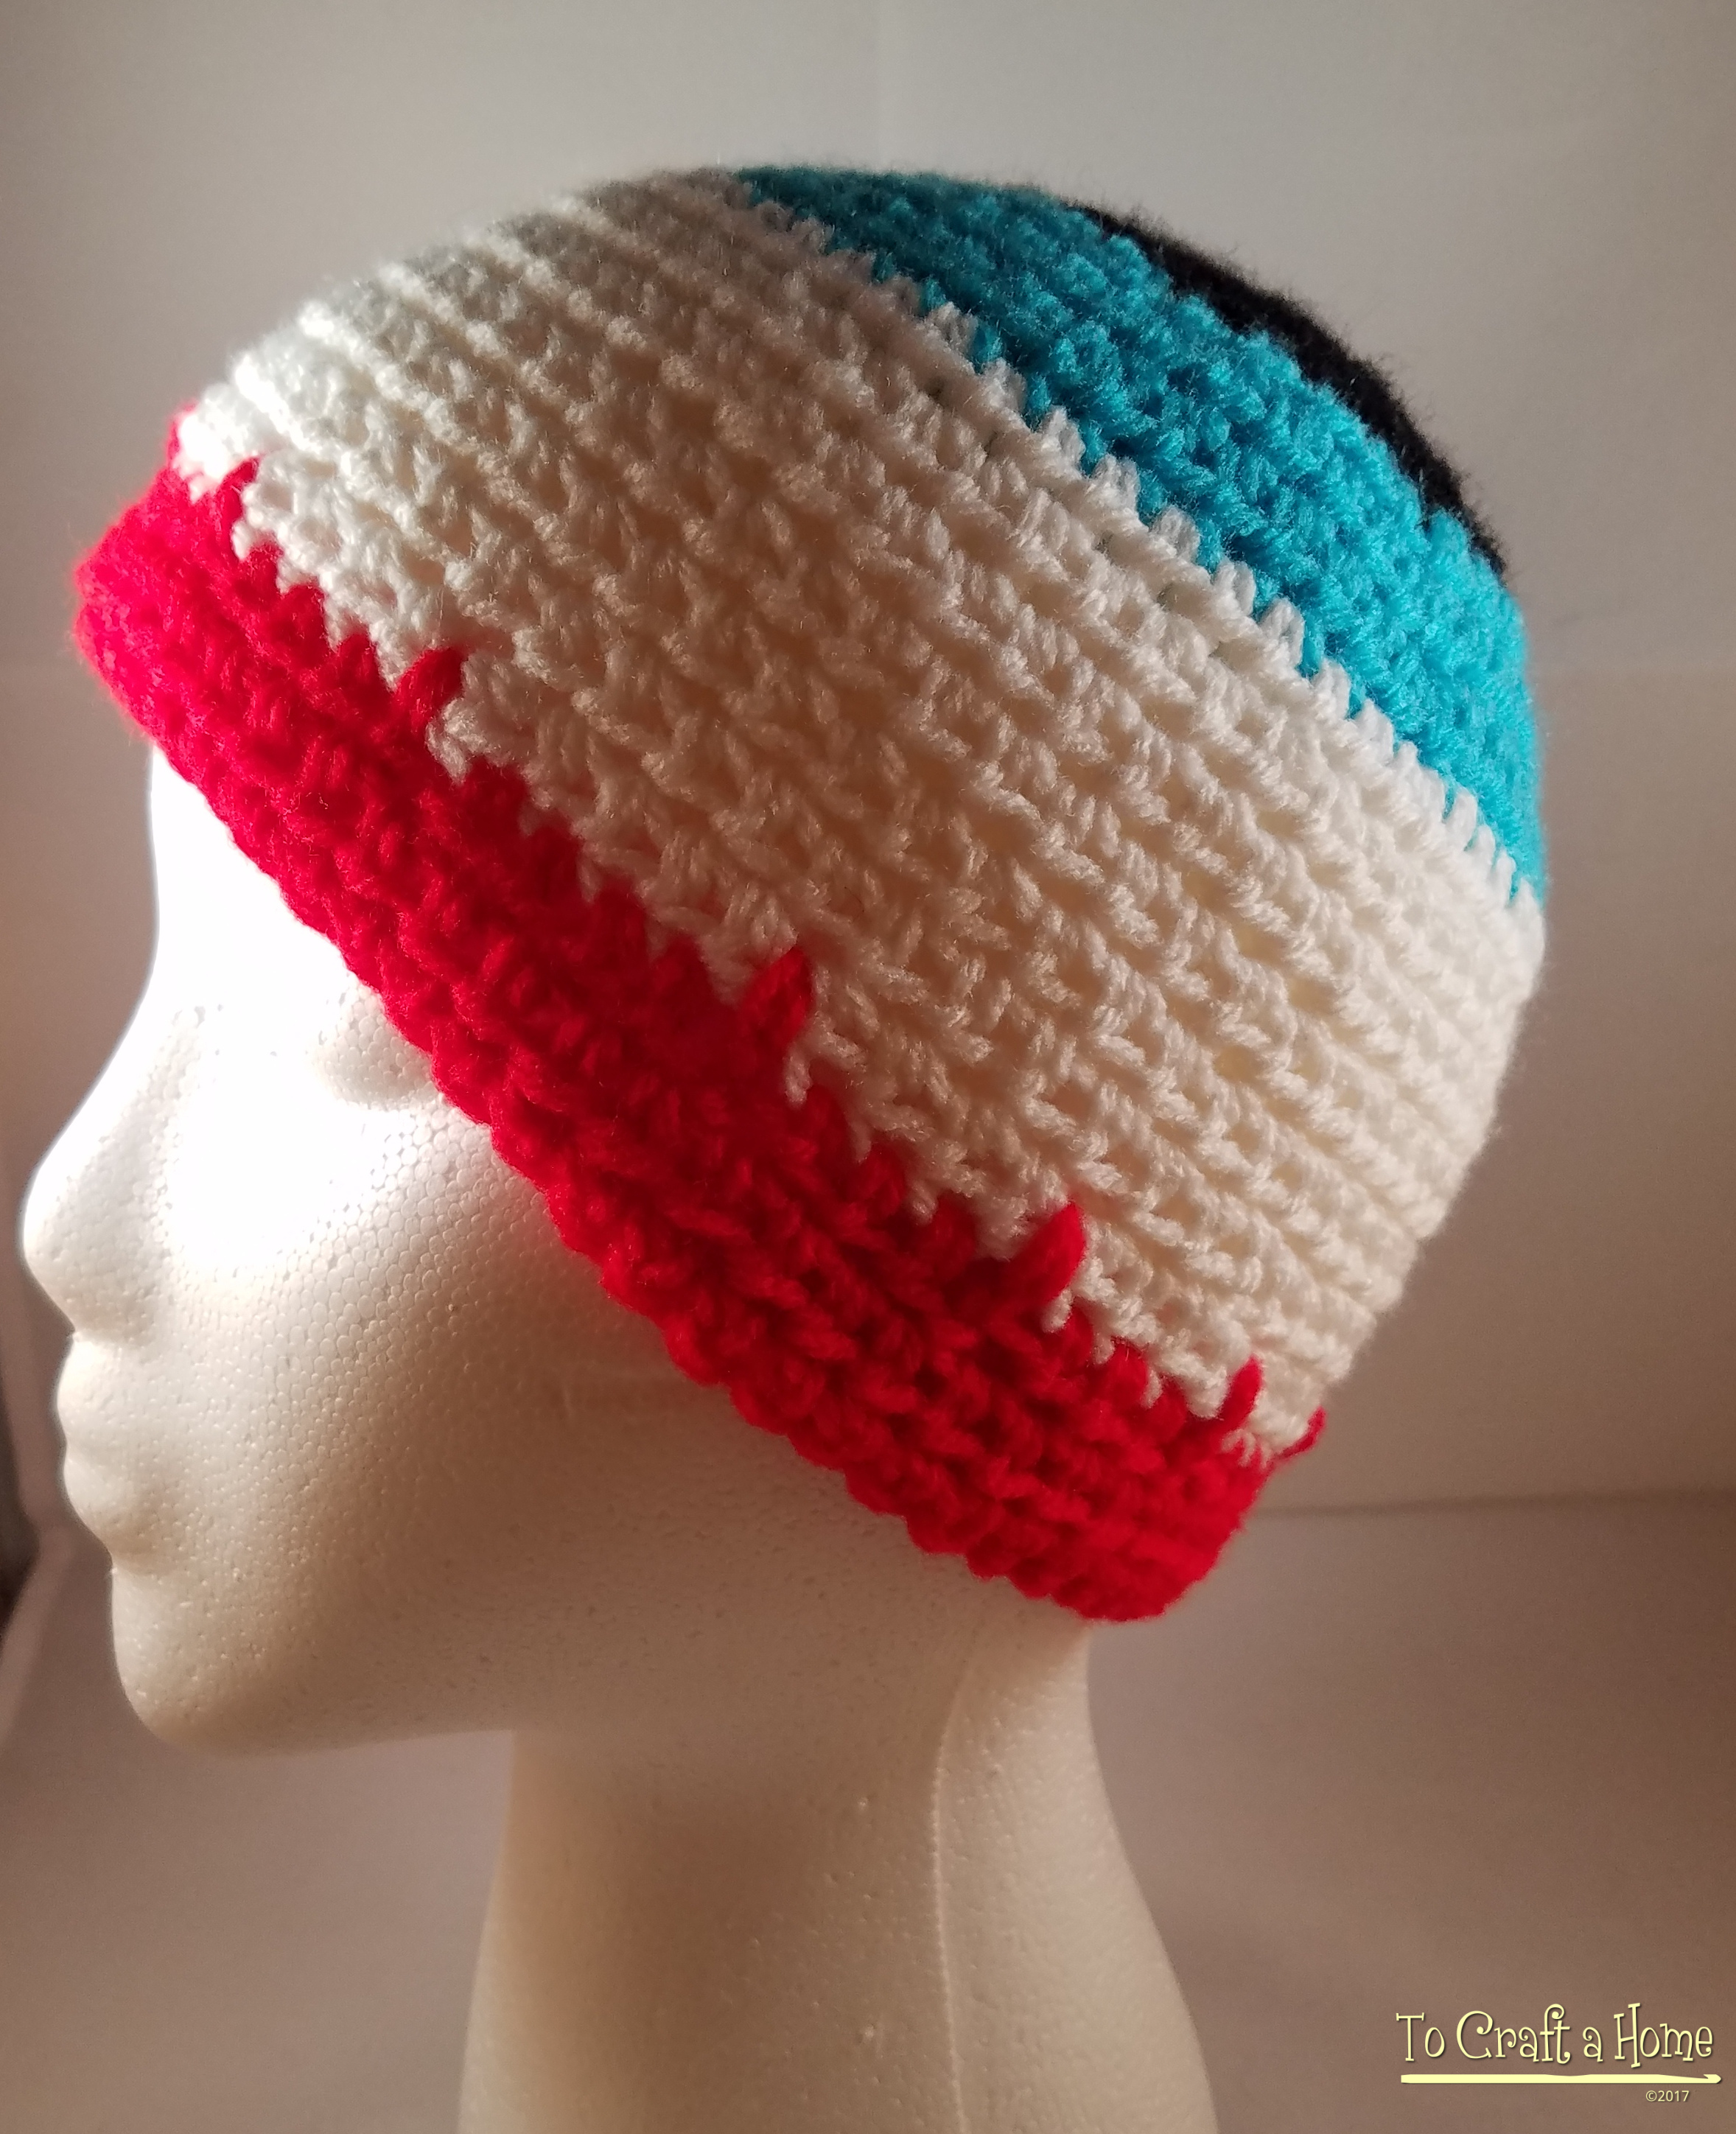
As each day draws Halloween closer I find myself absolutely obsessed with the aisles and aisles of spooky props in all of the department stores near my home. My house is decorated top to bottom with spooky skeletons, haunted houses, pumpkins, and more! Not only must the house be dressed up, however, but people too! That’s why I created this simple beanie. It’s fully functional to keep you warm during those chilly fall days, but also has a bit of a creepy vibe to it! So without further ado… The Creepy Eyeball Hat.
Materials:
-5.5mm crochet hook
-Yarn in colors black, blue (or other iris color), white, and red
-Embroidery needle
Stitch Abbrebriations:
hdc-half double crochet
sc: single crochet
sl st: slip stitch
ldc: long double crochet (yarn over hook like a normal dc but insert the hook into the previous row below current row and finish off like normal).
If you are still confused about what a long double crochet is I highly advice looking to Youtube for tutorials to help guide you through it! There are so many to choose from!
For this beanie I will be posting the teen/adult size. A full free pattern of the Creepy Eyeball Hat can be found in all sizes (0-3 months, 3-6 months, 6-12 months, toddler, child, teen/adult) on my Ravelry here: https://www.ravelry.com/patterns/library/creepy-eyeball-hat
Teen/Adult
Start with black yarn.
Round 1: 8 Hdc in a magic circle; join. (8)
Round 2: Ch 2, hdc in same st, 2 hdc in next st and in each st around; join with a sl st at top of ch 2. (16)
Round 3: Ch 2, hdc in same st, hdc in next st, *2 hdc in next st, hdc in next st* repeat all around; join with a sl st at top of ch 2. (24)
Round 4: Ch 2, hdc in same st, hdc in next 2 sts, *2 hdc in next st, hdc in next 2 sts* repeat around; join with a sl st at top of ch 2. (32)
Change to blue (or other iris color) yarn here.
Round 5: Ch 2, hdc in same st, hdc in next 3 sts, *2 hdc in next st, hdc in next 3 sts* repeat around; join with a sl st at top of ch 2. (40)
Round 6: Ch 2, hdc in same st, hdc in next 4 sts, *2 hdc in next st, hdc in next 4 sts* repeat around; join with a sl st at top of ch 2 (48)
Round 7: Ch 2, hdc in same st, hdc in next 5 sts, *2 hdc in next st, hdc in next 5 sts* repeat around; join with a sl st at top of ch 2. (56)
Change to white yarn.
Round 8: Ch 2, hdc in same st, hdc in next 6 st, *2 hdc in next st, hdc in next 6 sts* repeat all around; join with a sl st at top of ch 2 (64)
Rounds 9-15: Ch 2, hdc in each st around; join with a sl st at the top of ch 2 (64)
Change to red yarn.
Round 16: (this round can be worked any way you choose really, but I chose to space my ldc stitches every 4th st. You may choose to make them less even or farther apart. As long as you still remain with 64 stitches around you will be fine!) Ch 2, *hdc in first 3 sts, ldc in next*; repeat around and join with a sl st at top of ch 2.
Round 17: Ch 2, hdc in each st around; join with a sl st at top of ch 2 (64)
Round 18: Ch 1, sc in each st around, join with a sl st at the top of ch 1. (64)
Fasten off and weave in the ends.

What’s great about this eyeball hat is that you can personalize it any way you see fit! You may choose to embroider more “veins” crawling up the hat or change up the color of the iris. It’s entirely up to you! Whatever you decide though one thing is for certain… You will be representing the creepiness of Halloween very well every day that you wear this hat in the season!
All designs & pictures are copyrighted by To Craft A Home 2017. Pattern is for personal use only and can’t be resold, republished, or redistributed in any way. You may sell the finished project if you so desire, but please give credit and link to my website www.tocraftahome.com or my etsy www.tocraftahome.etsy.com
