
Spring weather is finally upon us and I just can’t wait to get my hands in the dirt and plant some flowers! It’s always a favorite time of year for my family and me. We spend countless hours shopping around for the perfect plants to make our backyard colorful and full of life. Roses, succulents, lilies, daffodils, tulips… We love them all! My personal favorite are always the lilacs filling my yard with their brilliant perfume. Oh how I can’t wait for those to bloom!
Unfortunately for me, however, I have no true green thumb. Actually, if we’re being honest, I’m pretty much the worst gardener ever. I try as hard as I can each year, but always fail. Vegetable gardens produce pathetic produce, if any. Once flourishing flower arrangements droop down into brown, dried, root-rotted sadness. My hopeful succulent gardens? Even they shrivel up and die, though I do proudly admit that I’ve had the same window sill cactus for two years now! So perhaps there is hope!
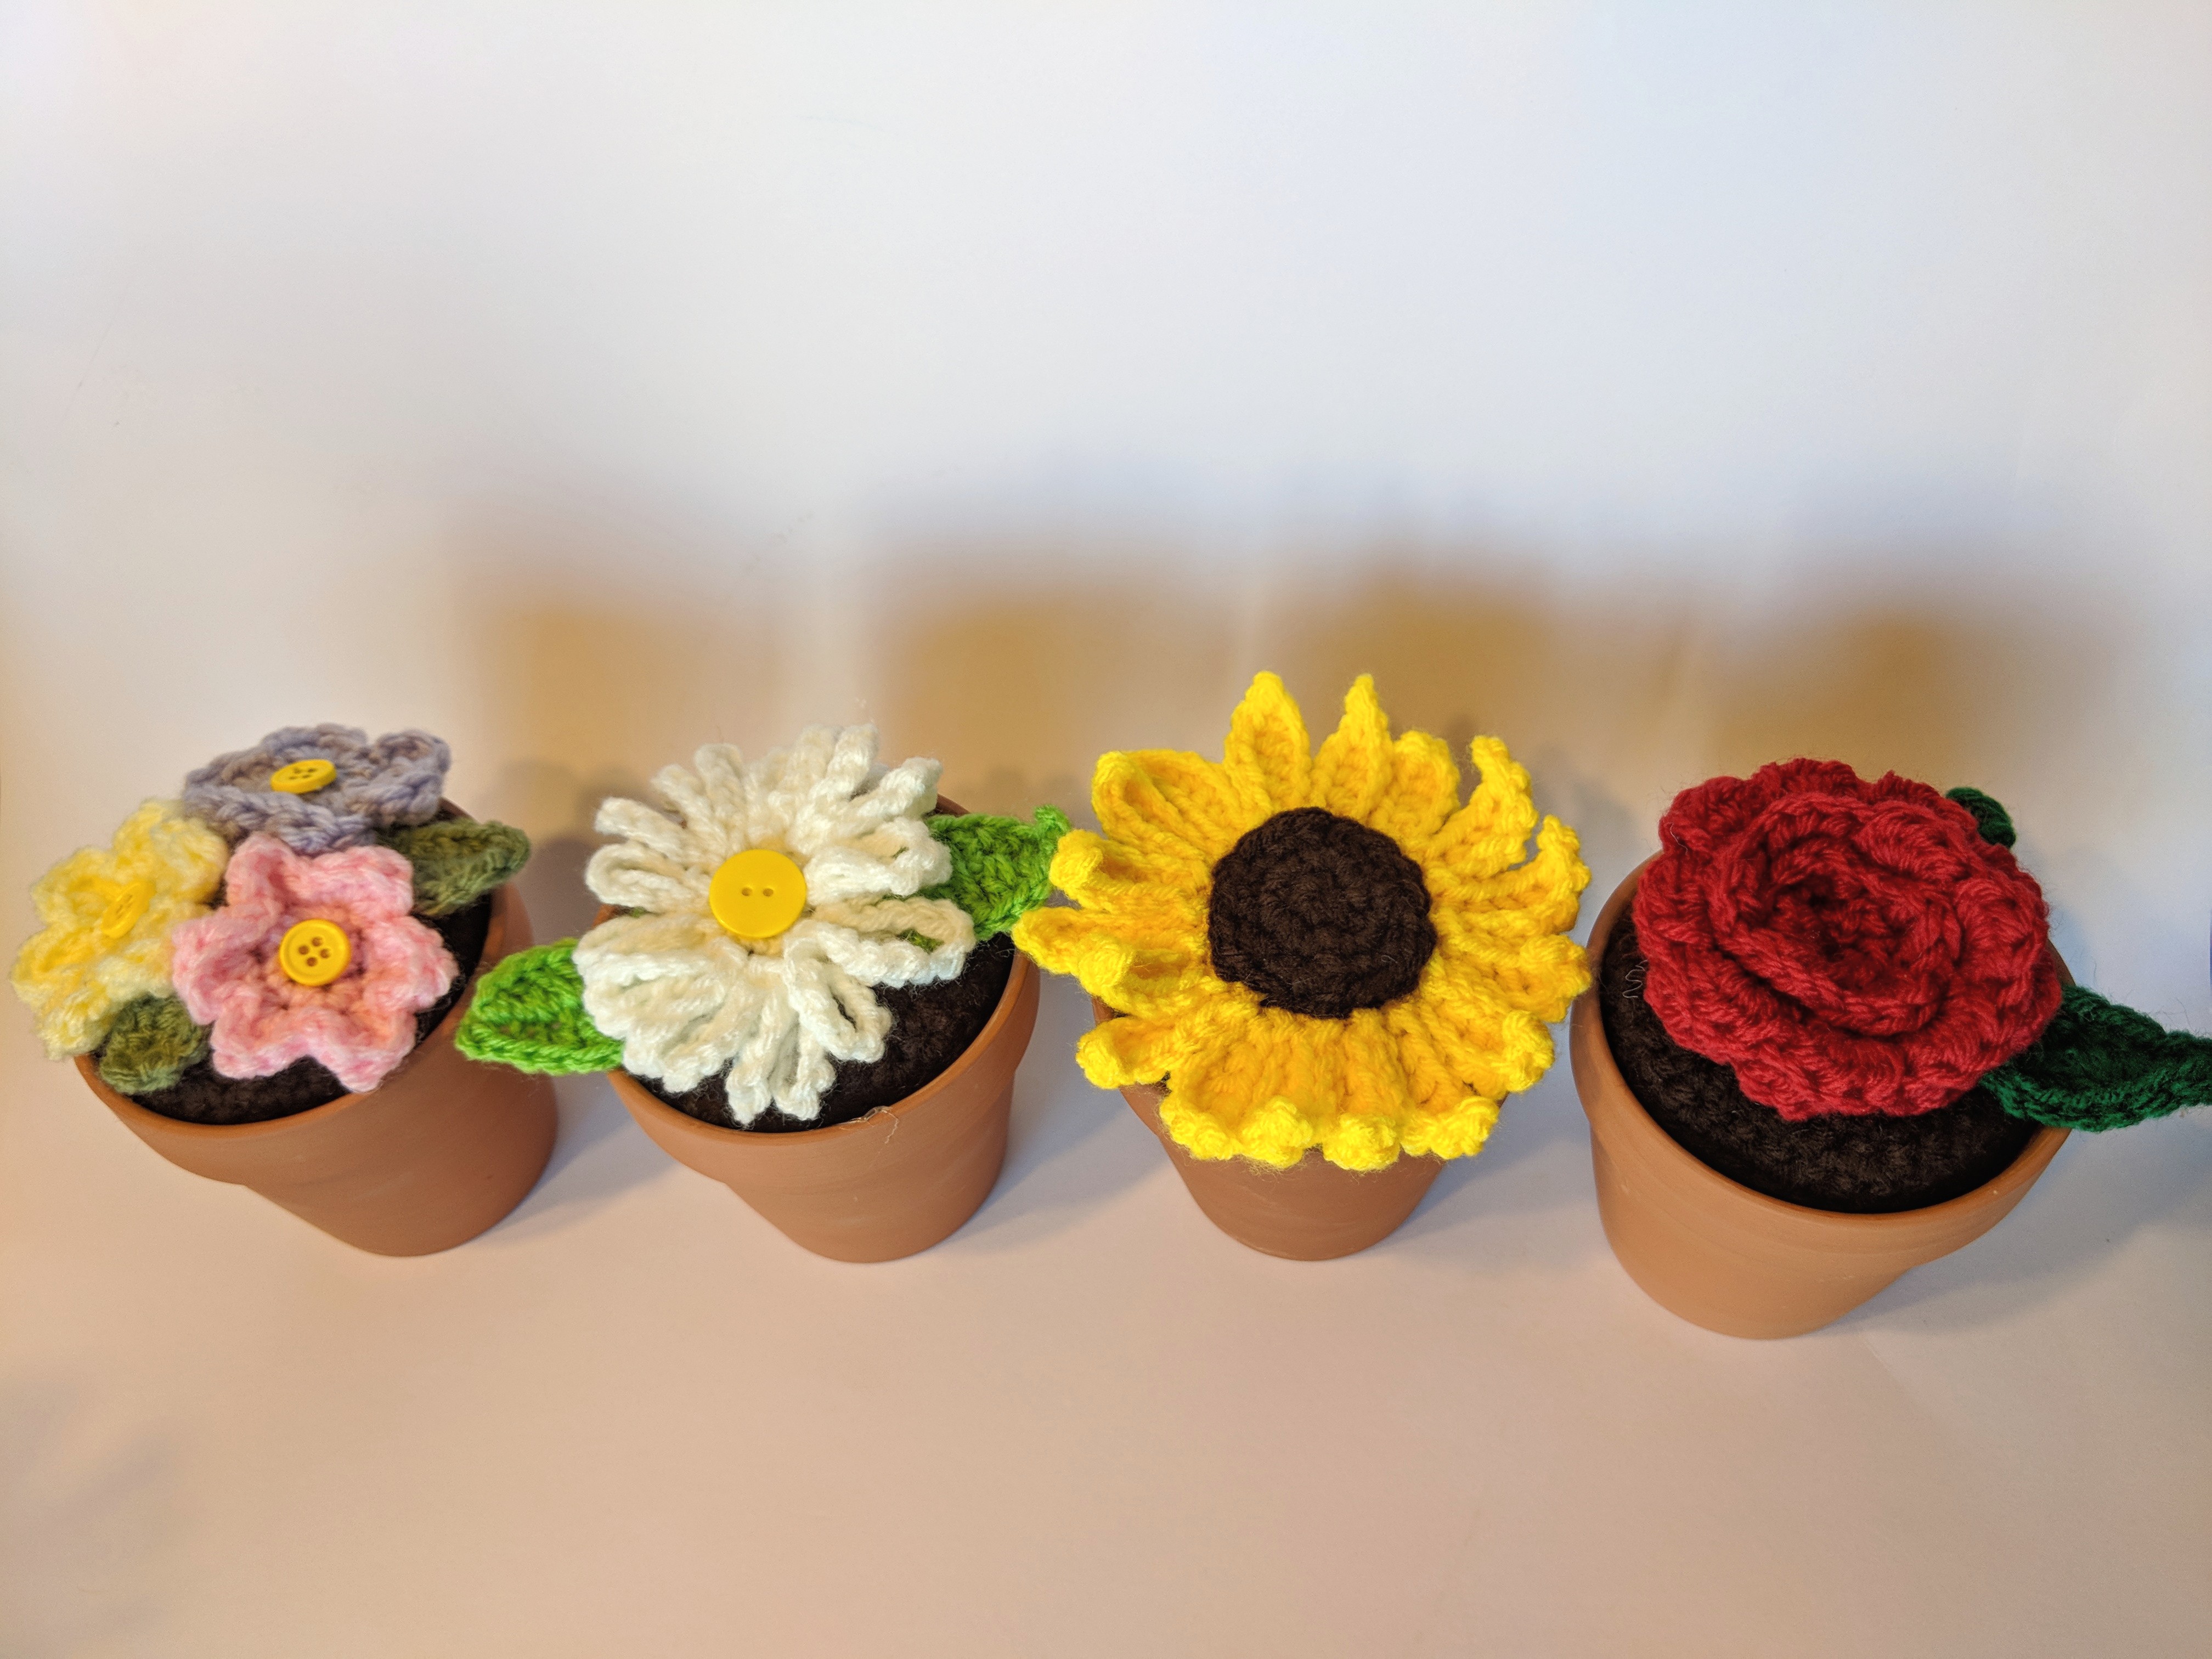
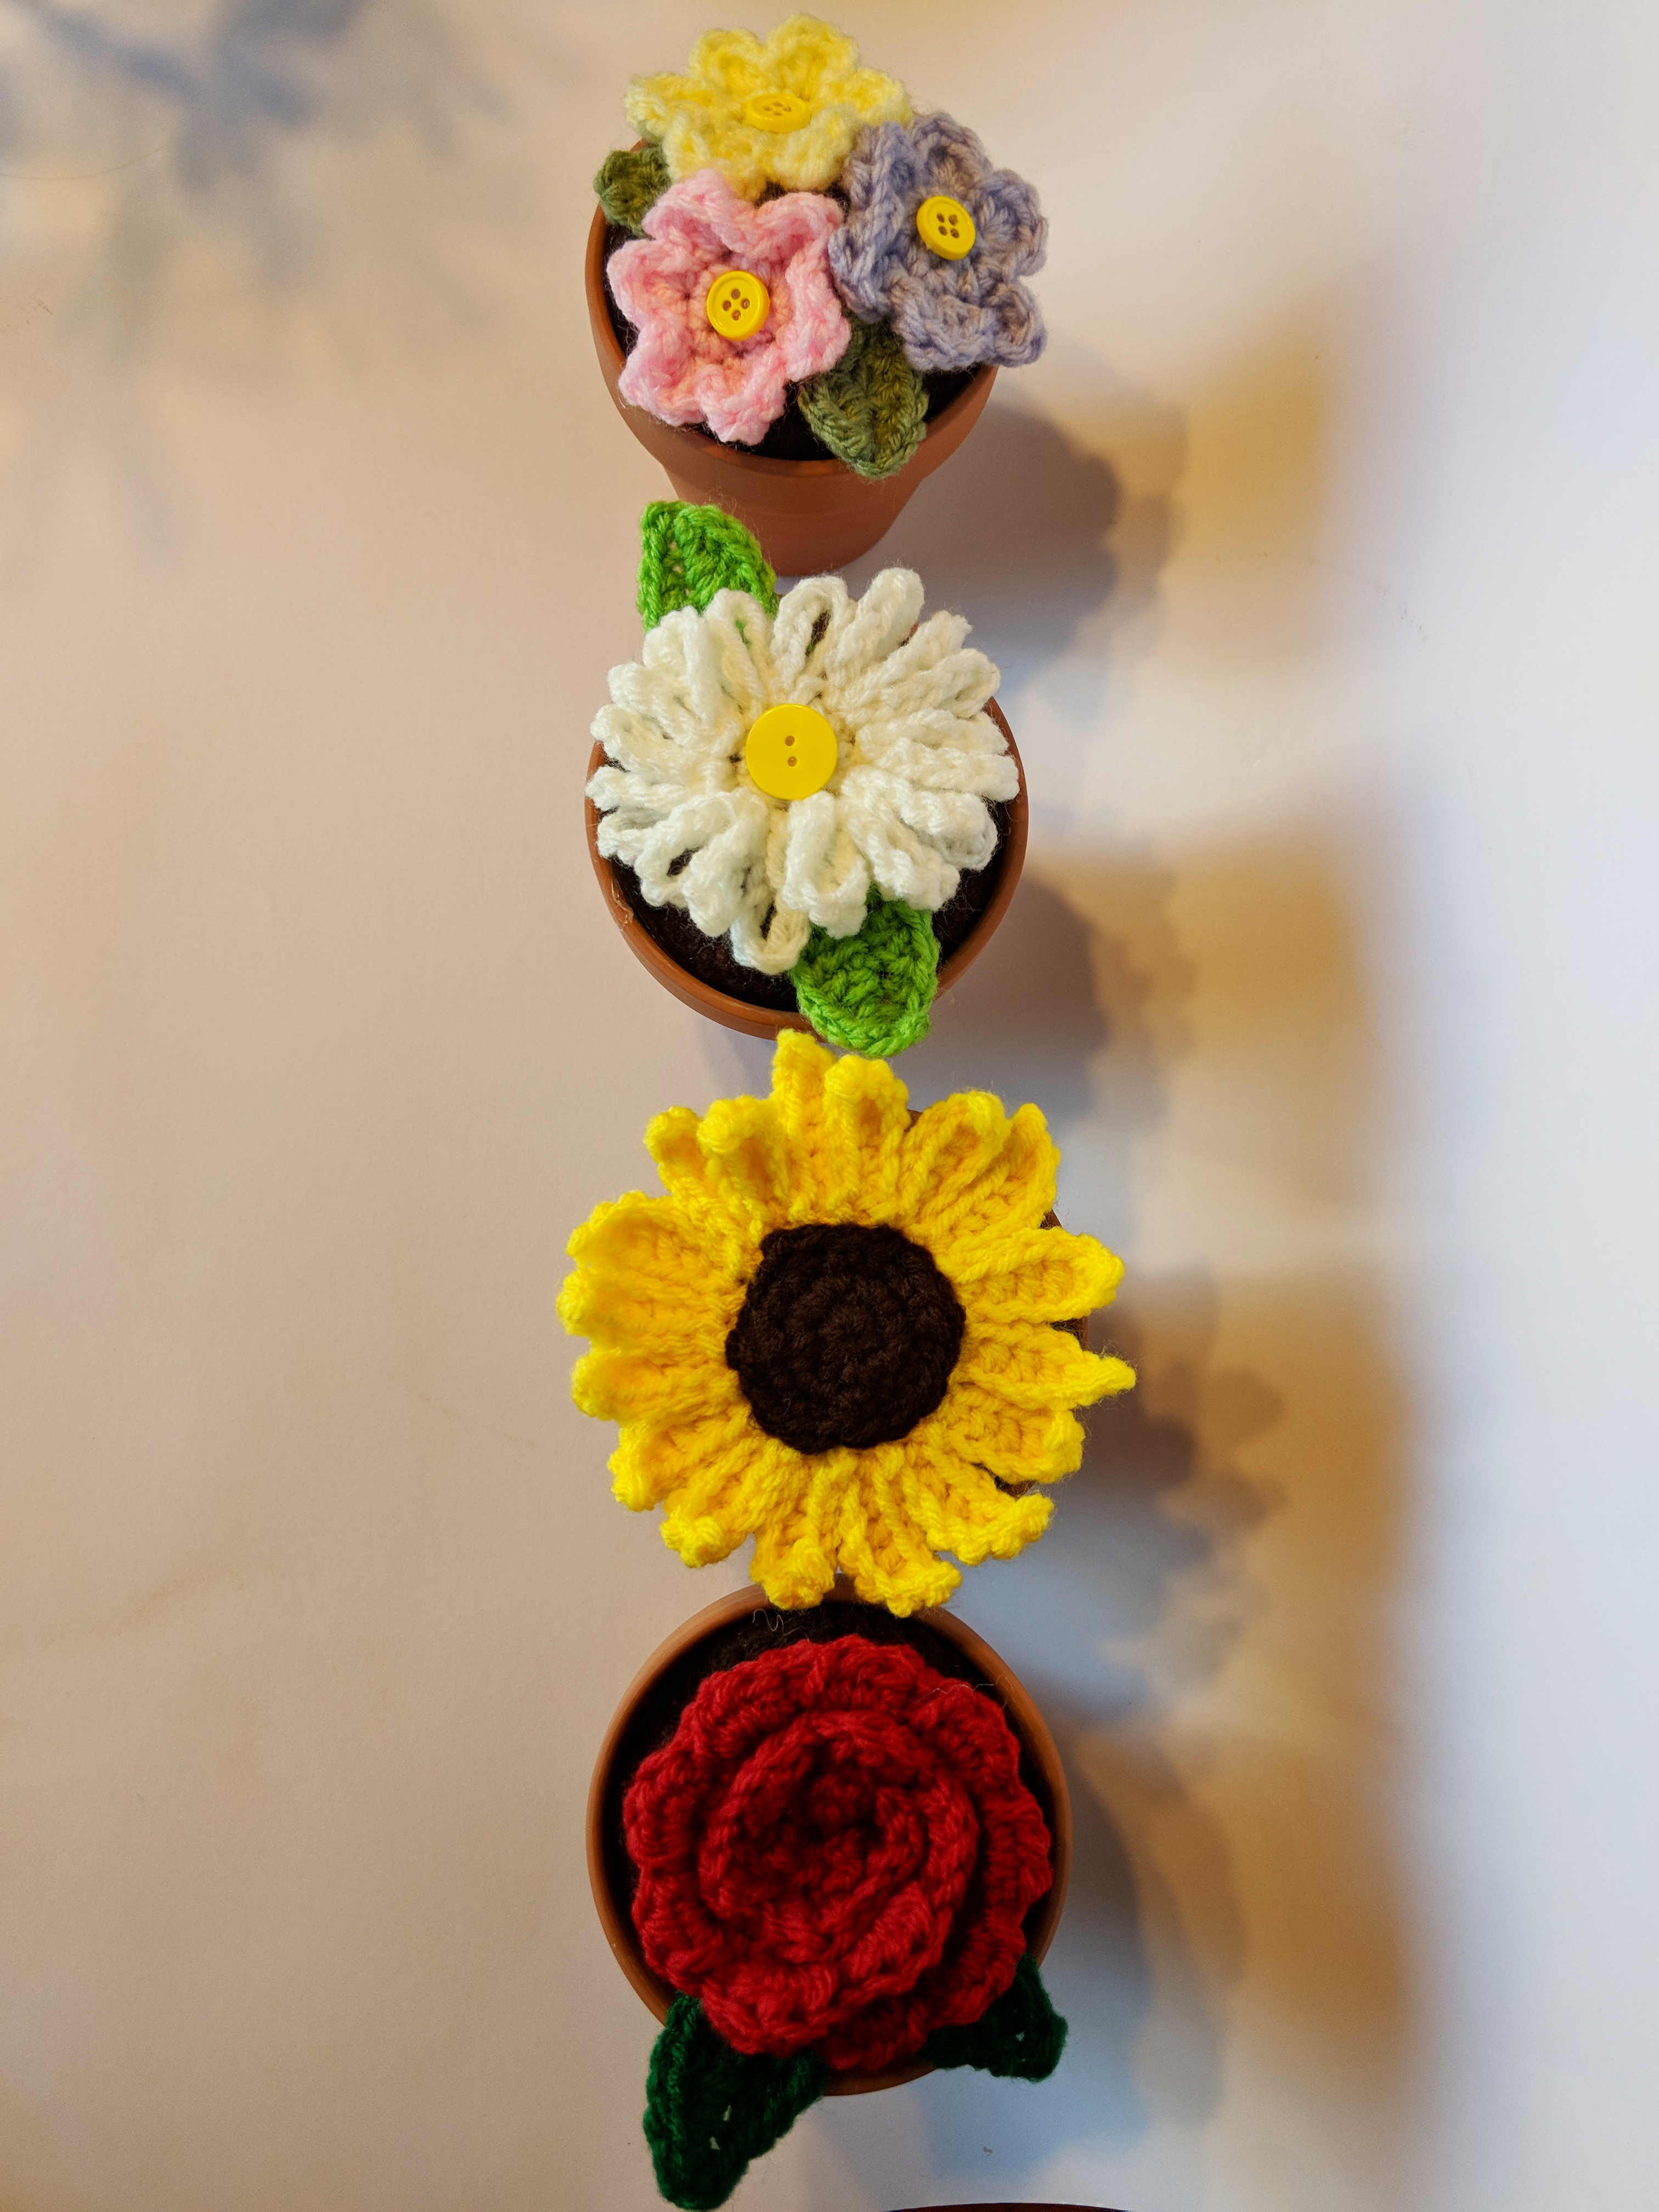
For now though, I’ve found a better alternative than that of continuing to kill perfectly healthy live plants. If I have no luck growing them, why not create something on my own that can outlast any real plant? And so came forth the idea of these potted crochet flowers! Something that can keep my home cheerful and push forth celebratory feelings of the new spring season, and also something I can’t kill! My very own potted crochet flowers.
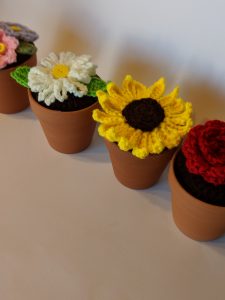
These are way easier than gardening! Well… For me at least. I wanted to make a nice variety of flowers that could bring forth a lot of color and variety to any room of the house. I also wanted something that could make perfect gifts for any flower enthusiast. Perhaps something nice for mom or the perfect addition to any new home? These work up very quickly and the possibilities for variety are endless! Best yet, all you need are a few different colors of yarn and a super easy to find, affordable terra cotta pot (I found mine at the local Dollar Tree).
With all that said, let’s move on to the fun parts, shall we?
Abbreviations:
Ch- chain
St(s)- stitch(es)
Sl St- Slip stitch
Sc- single crochet
Hdc- Half double crochet
Dc- double crochet
Tr- Treble crochet
Dec- decrease (single crochet 2 stitches together)
Inc- increase (2 in each stitch)
***For each of these patterns I used a terra cotta pot that was sized 3.5-4 inches in diameter.
For each pattern we will start with the dirt portion. This pattern is made to fit the 3.5-4 inch diameter terra cotta pot, though you may use a larger size if you’d like. You will just have to adjust by adding a few stitches/increases to better fit the pot. For now though, we’ll stick to the 3.5-4 inch diameter version with the instructions below:
Materials:
- 3.5mm crochet hook
- Acrylic yard in brown
- Embroidery Needle
- Polyfil Stuffing
- Terra cotta pot that is around 3.5-4inches in diameter
- Hot Glue Gun
Dirt
Use brown yarn.
6 sc in a magic circle.
Round 1: inc in each st around (12)
Round 2: *sc in 1st st, inc in the next; repeat around (18)
Round 3: sc in 1st 2 sts, inc in the next; repeat around (24)
Round 4: sc in 1st 3 sts, inc in the next; repeat around (30)
Round 5: sc in 1st 4 sts, inc in the next; repeat around (36)
Rounds 6-7: sc in each st around (36)
At this point you may want to check the width of the “dirt” to see if it fits well into your terra cotta pot. Depending on the size, you may want to add more stitches, though remember that once it is filled with polyfil stuffing, it will expand a bit.
Round 8: sc in 1st 4 sts, dec; repeat around (30)
Round 9: sc in 1st 3 sts, dec; repeat around (24)
Round 10: sc in 1st 2 sts, dec; repeat around (18)
Begin to stuff piece here.
Round 11: sc in 1st st, dec; repeat around (12)
Round 12: Continue to dec until piece closes. Fasten off and weave in ends. Set aside and move onto your chosen flower portion of the pattern.
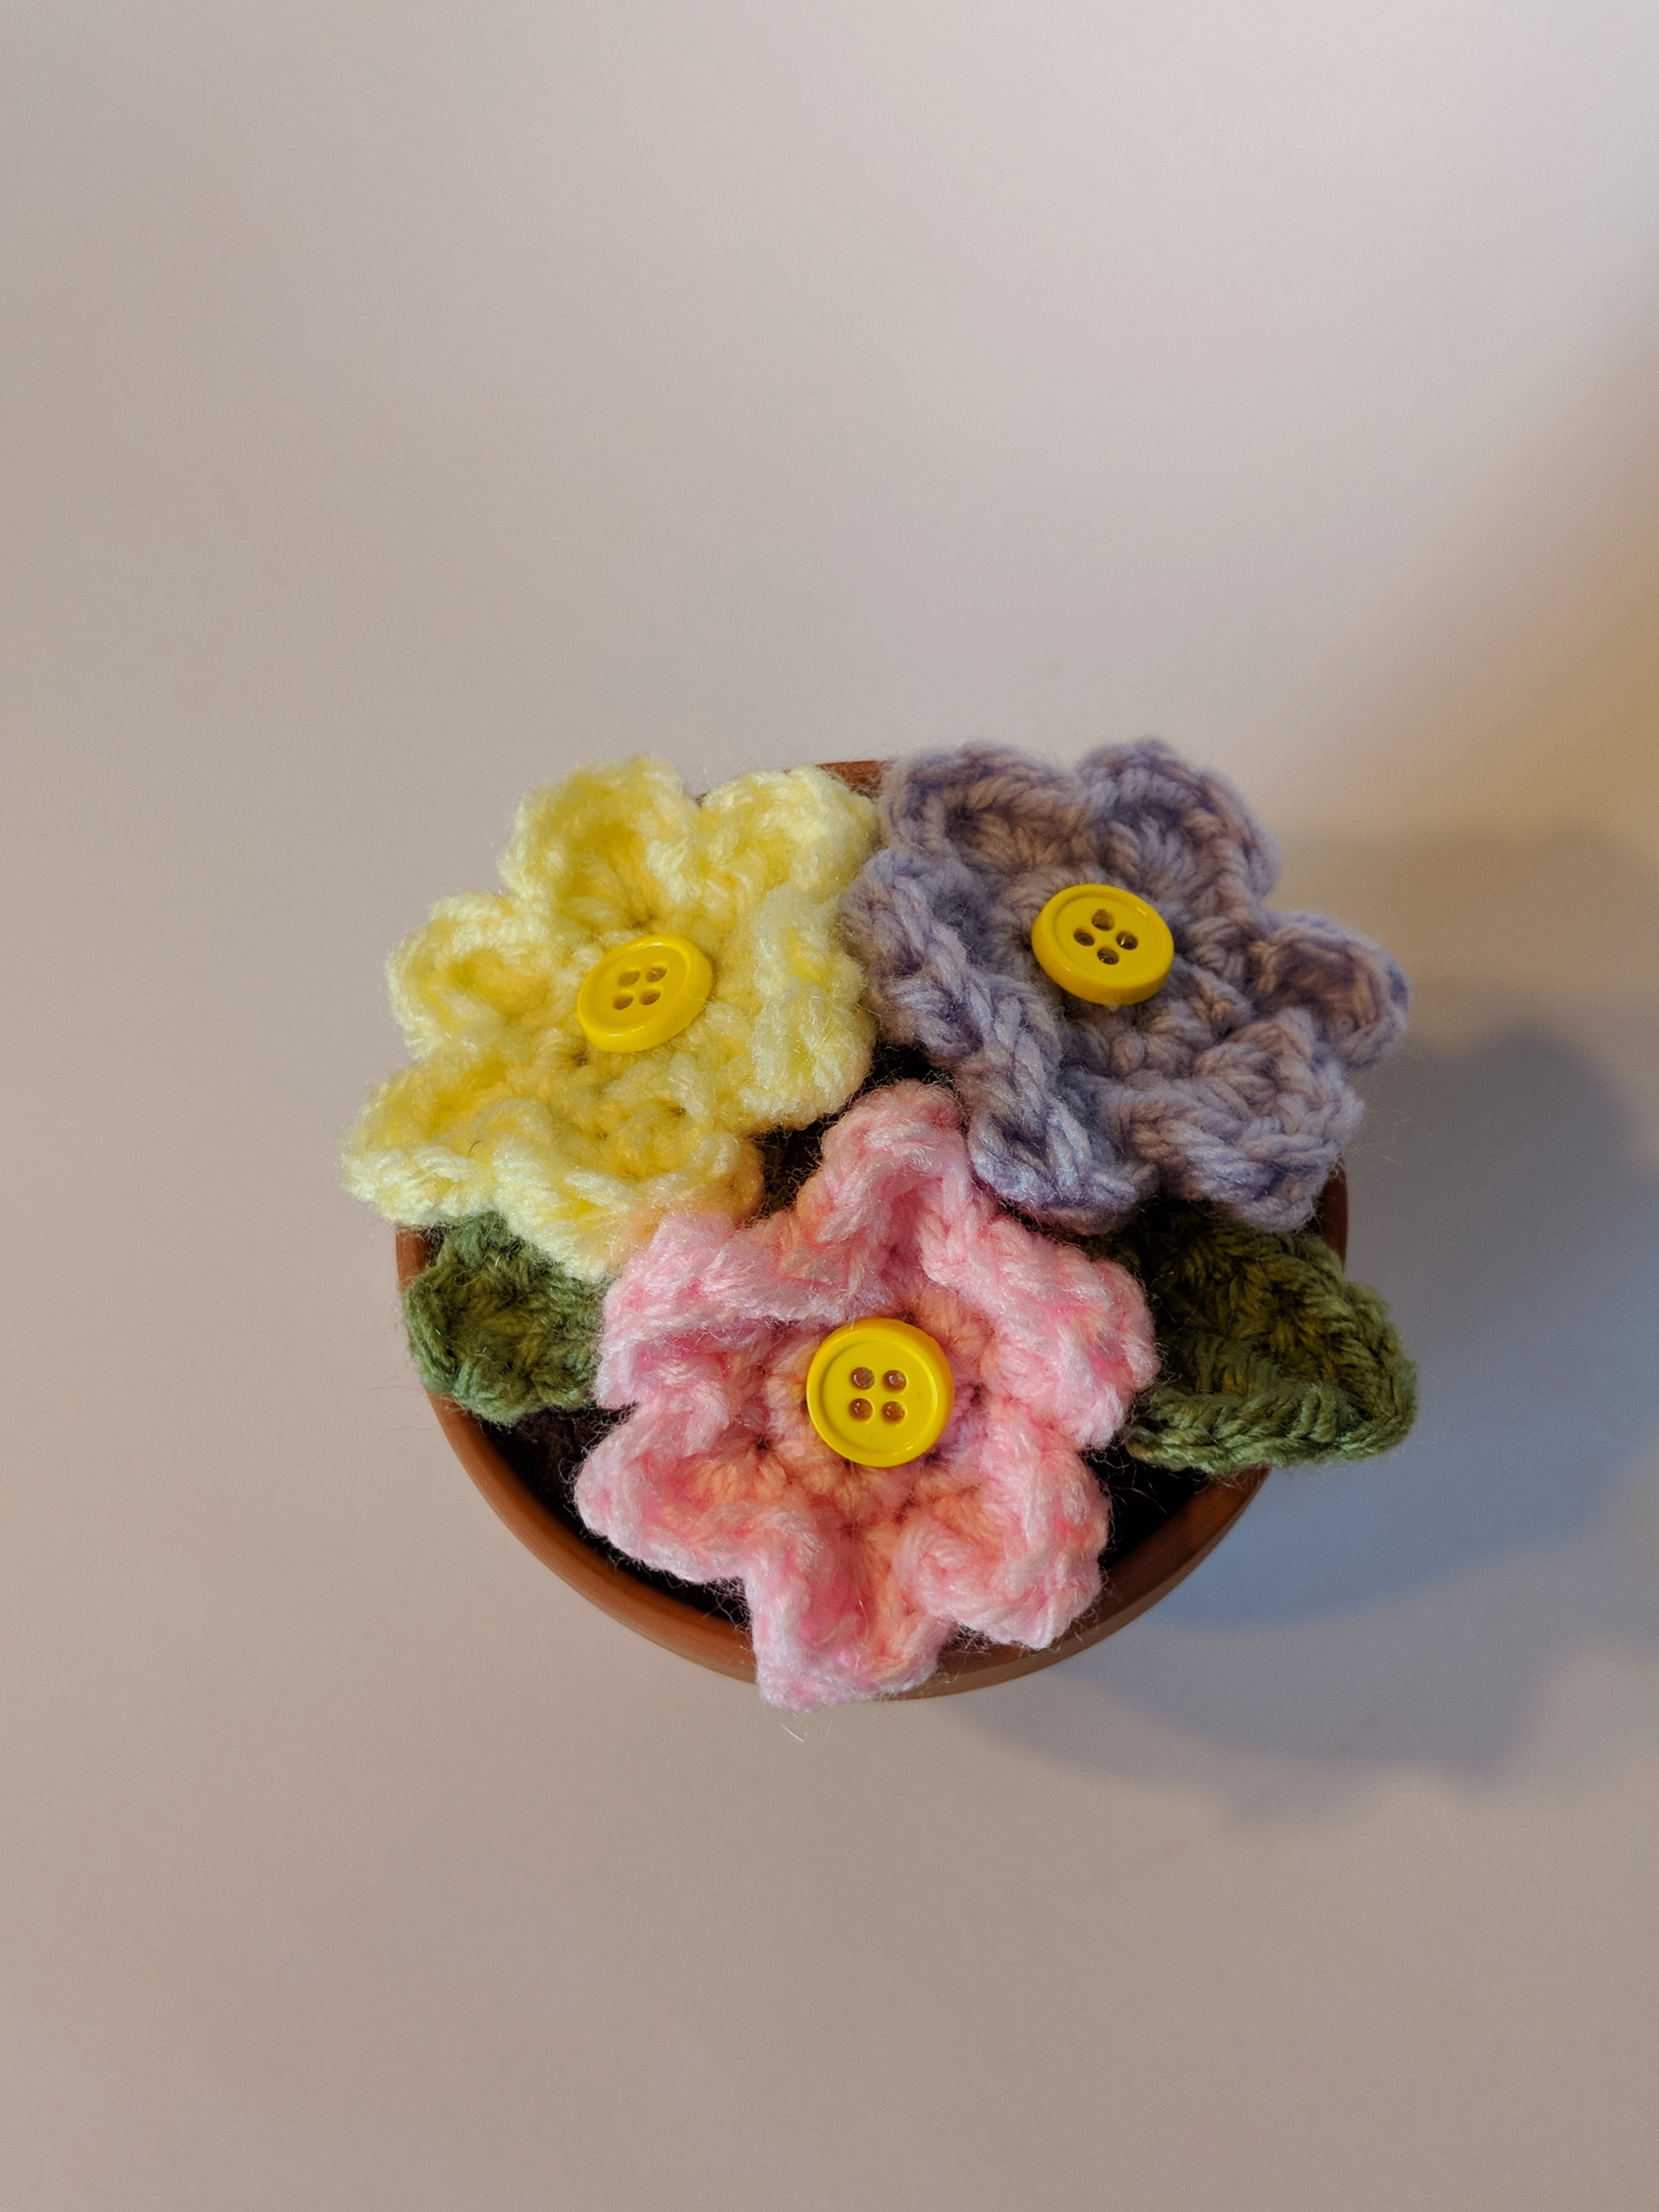
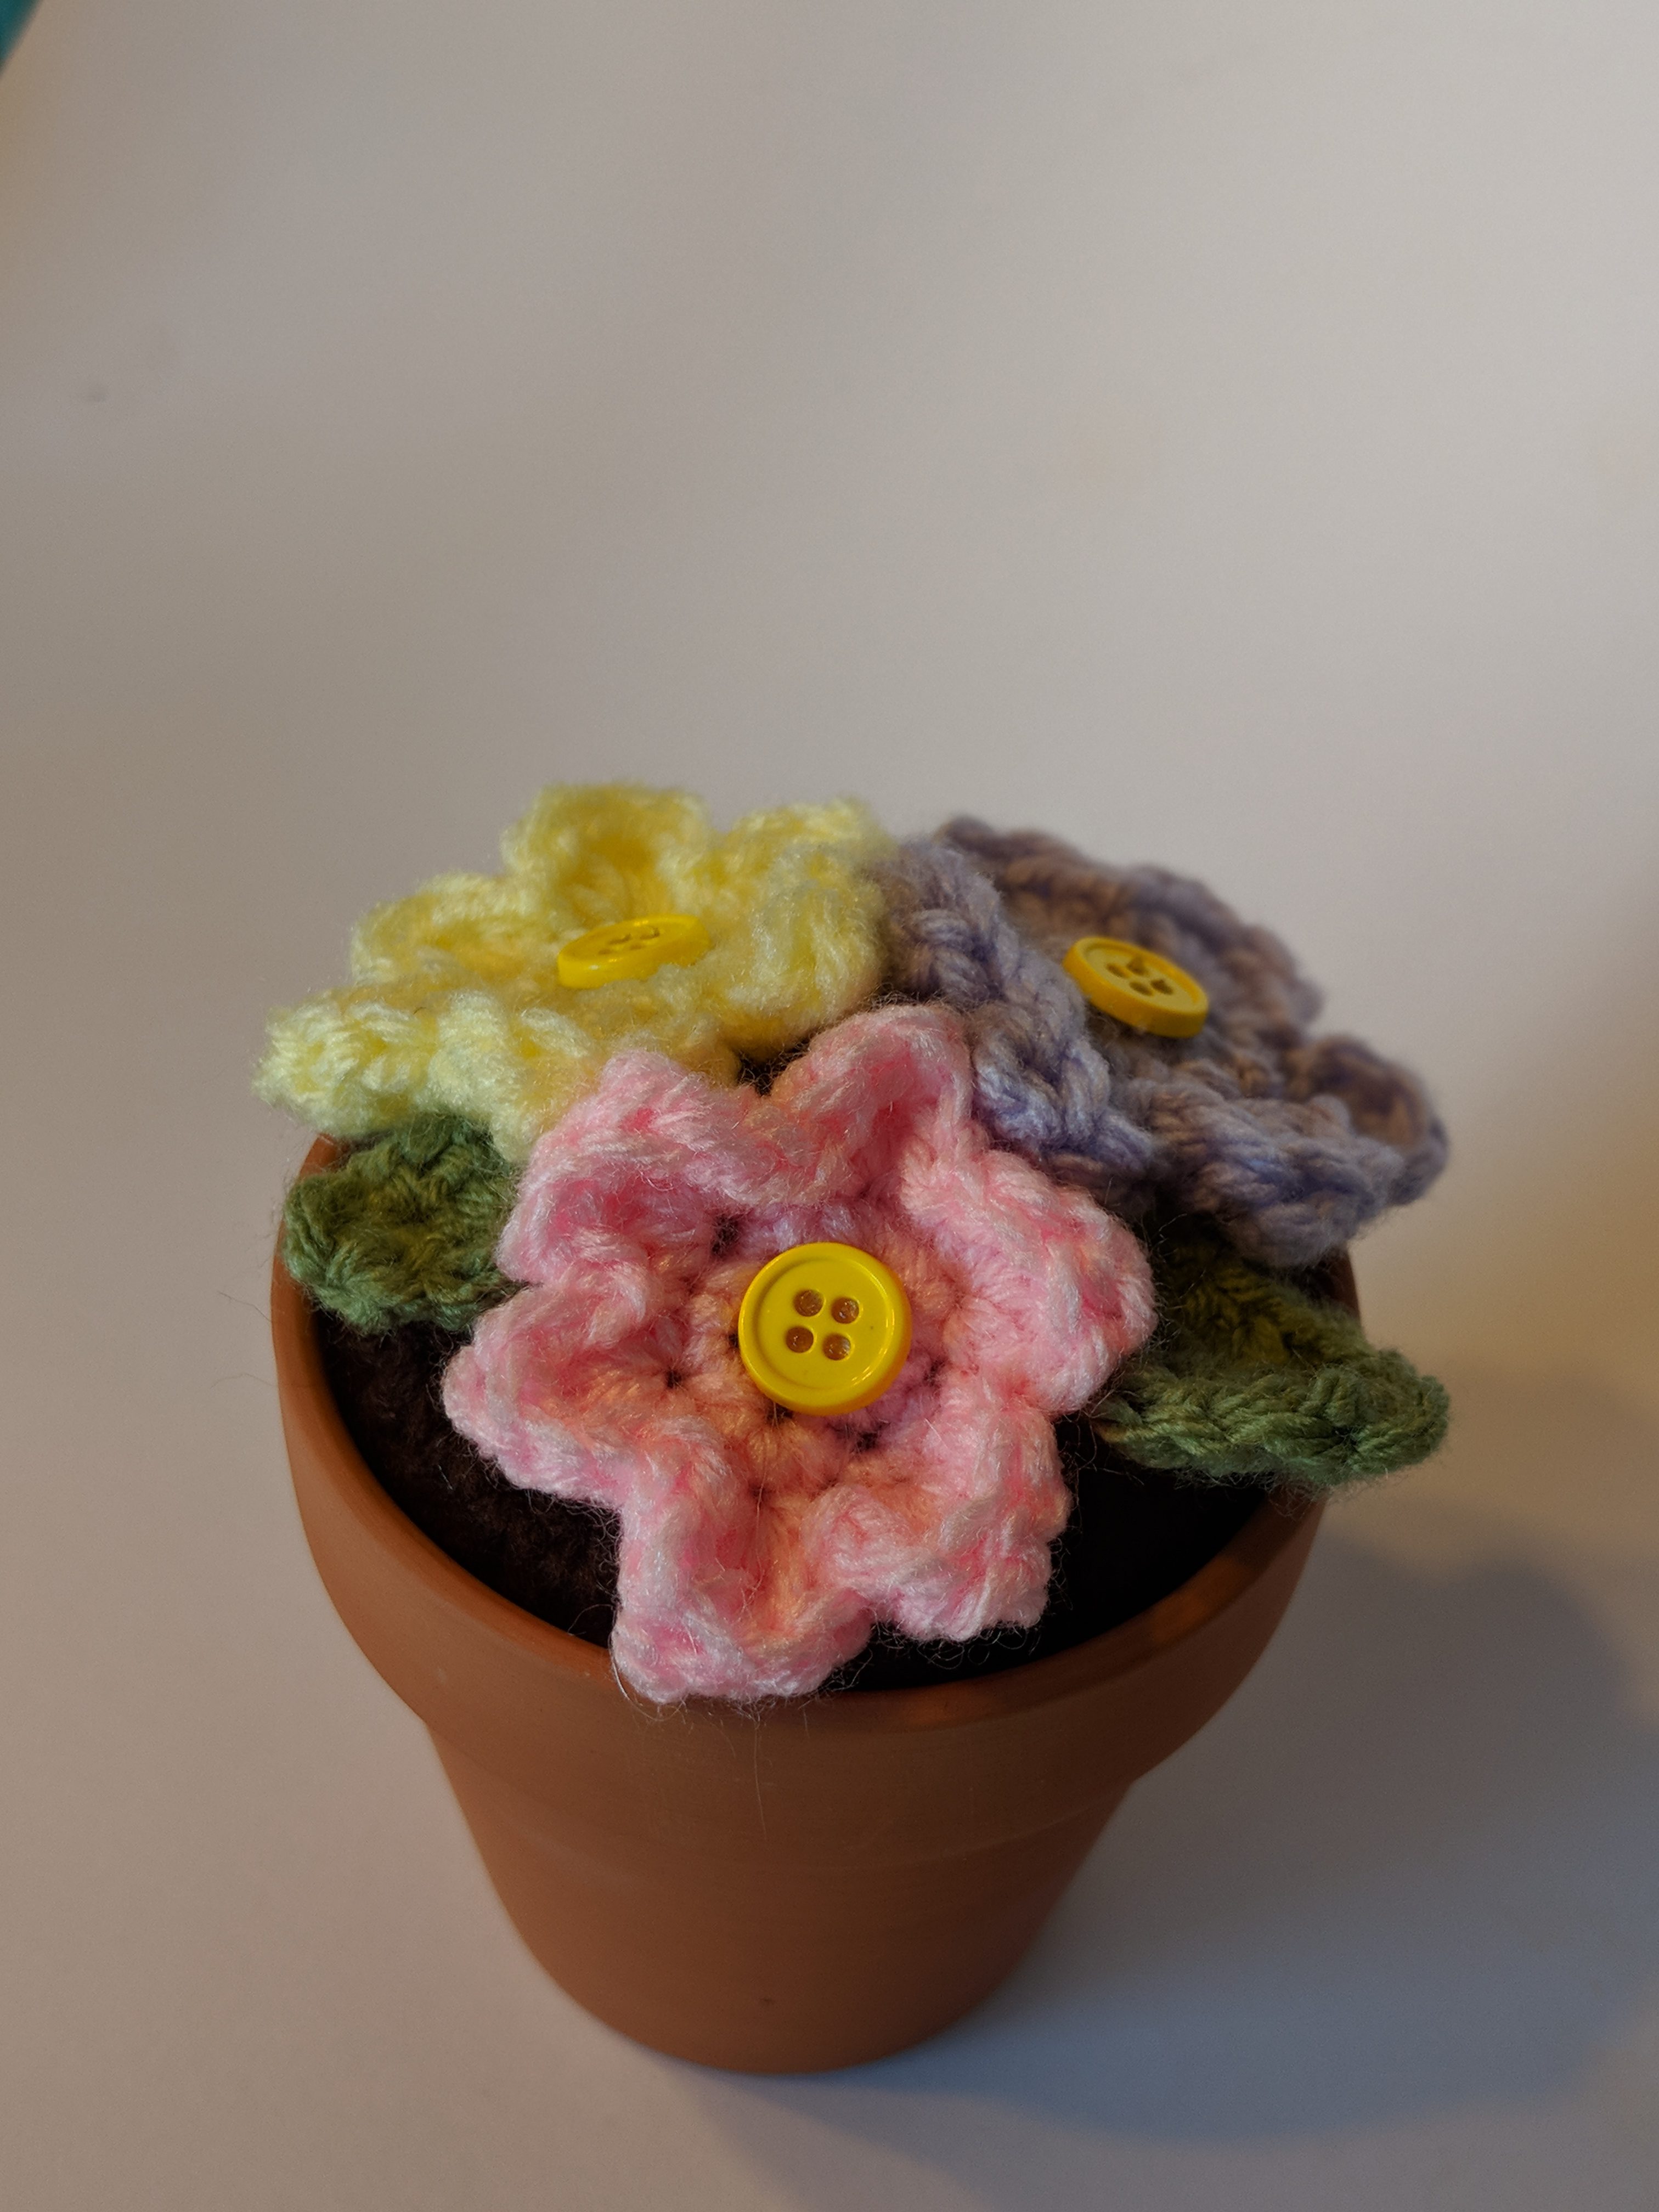
Spring Flowers
Materials:
- 3.5mm crochet hook
- Acrylic yard in colors medium green, and 3 different colors for the flowers (I used lilac, baby pink, and yellow)
- 3 small yellow buttons
- Embroidery Needle
- Polyfil Stuffing
- Terra cotta pot that is around 3.5-4inches in diameter
- Hot Glue Gun
Flower (make three)
We will work in steps.
Step 1: 6 sc in a magic circle
Step 2: inc in each st around (12)
Step 3: Here you will begin the petals. Sl st. In next st you will insert the following: *hdc, dc, tr, dc, hdc. Sl st in the following st*. Repeat for a total of five more times for another five petals. Once you have completed you should have six petals in total. Fasten off leaving a long tail for sewing.
Leaves (make two)
Step 1: Ch 8
Step 2: In 2nd ch from hook you will work your way down with: sl st, sc, hdc, dc, hdc, hdc, sc in each of the 7 ch spaces. Do NOT turn.
Step 3: You will work your piece on the other opposite side of the ch spaces you just worked. In the next 7 ch spaces work: sc, hdc, hdc, dc, hdc, sc, and finish off with a sl st. Fasten off leaving a long tail for sewing. ***Scroll all the way down for the final step.
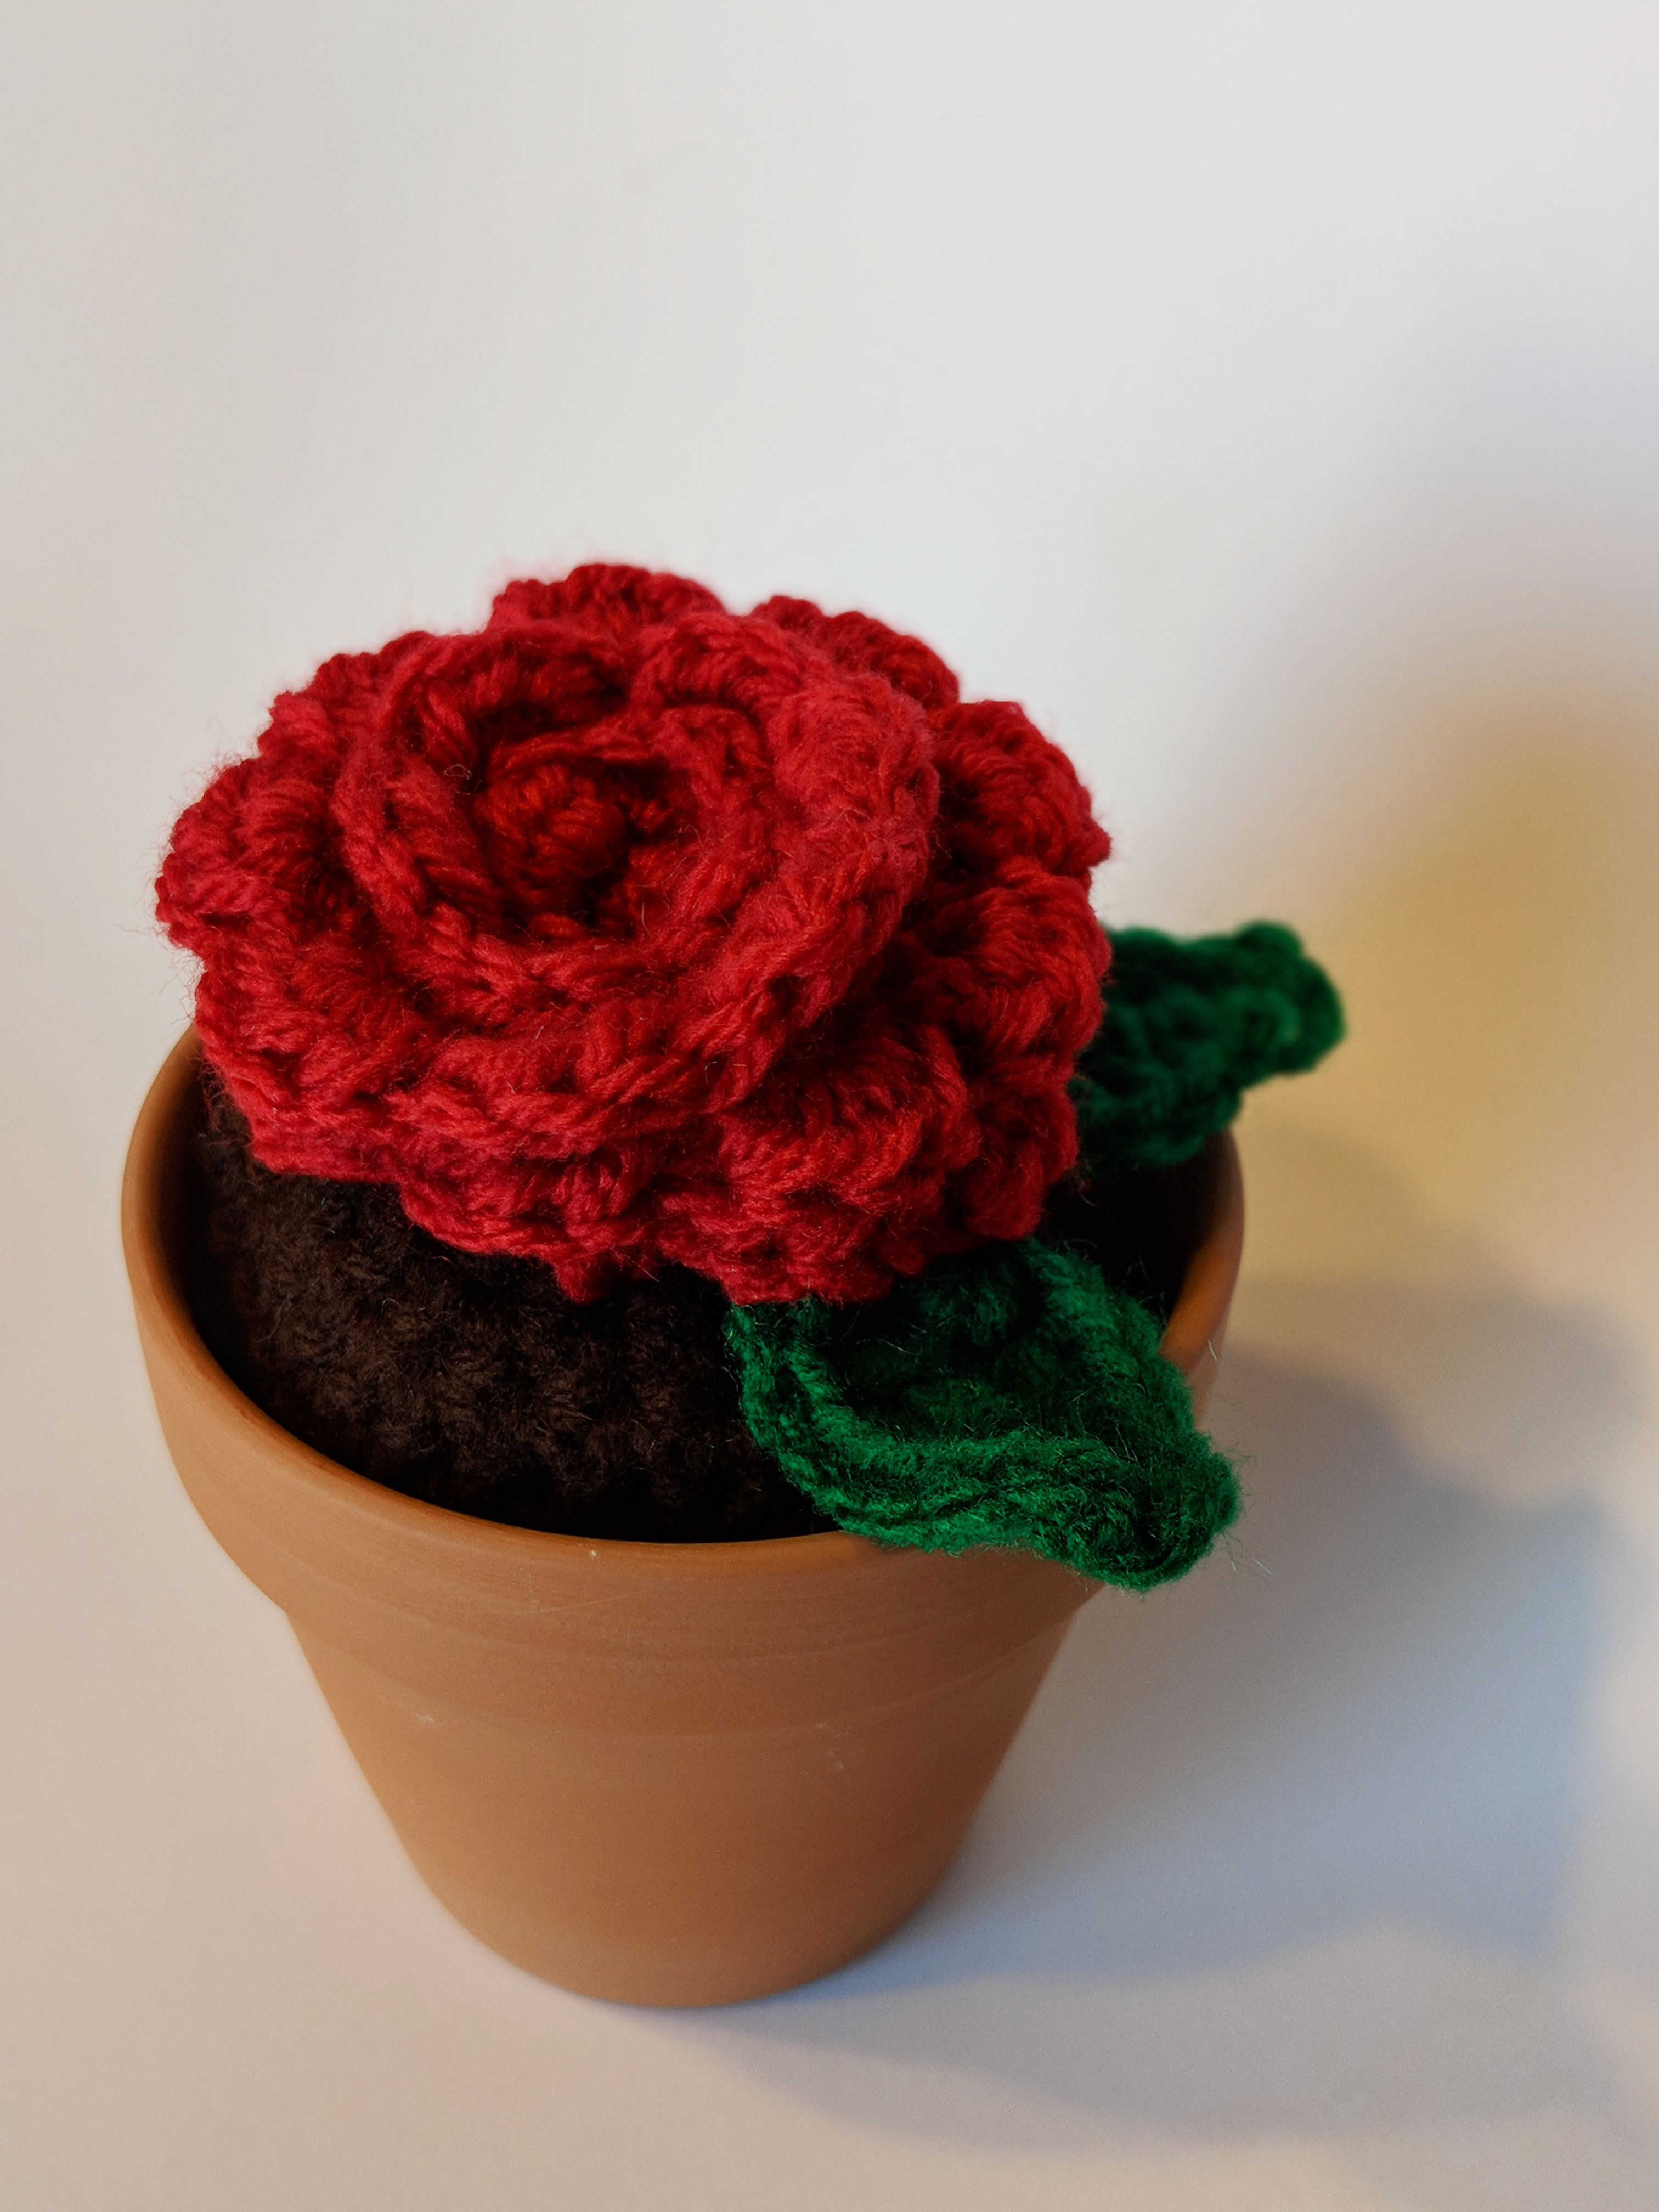
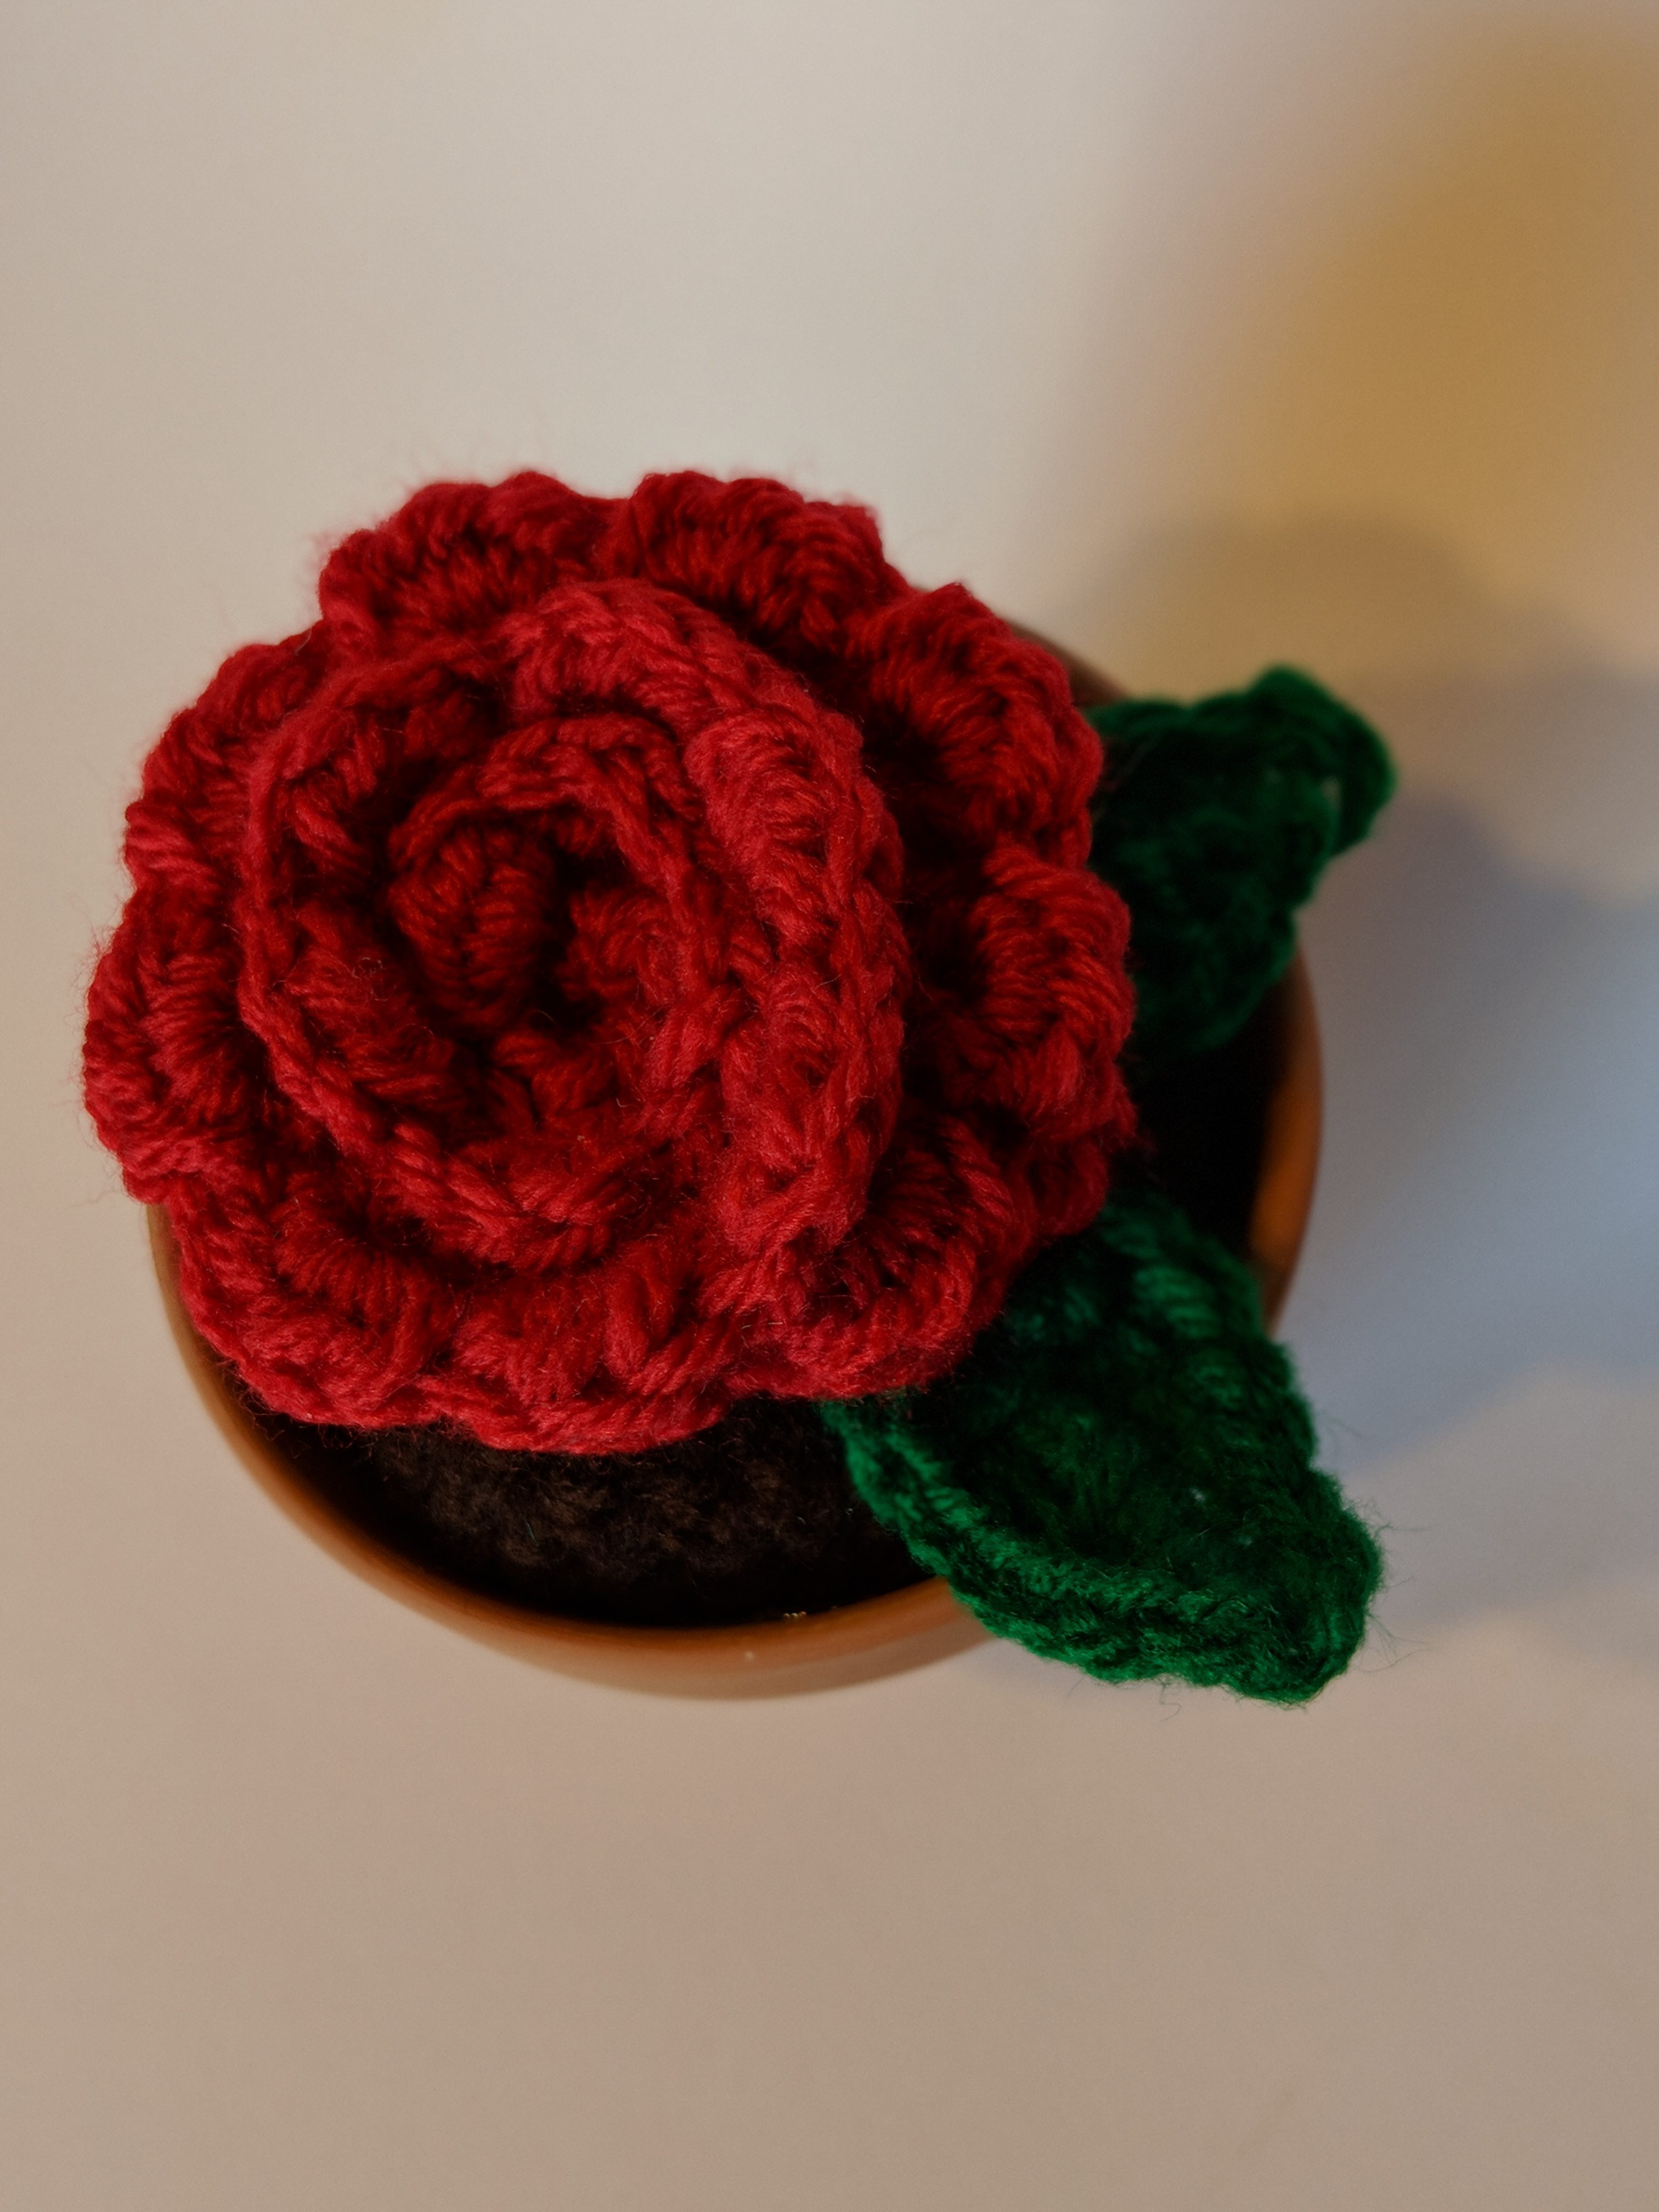
Rose Flower
Materials:
- 3.5mm crochet hook
- Acrylic yard in colors dark green, and red (or whatever rose color you’d like to use)
- Embroidery Needle
- Polyfil Stuffing
- Terra cotta pot that is around 3.5-4inches in circumference.
- Hot Glue Gun
Rose Flower
Use red yarn
Step 1: Ch 60
Step 2: In 3rd ch from hook hdc and continue to hdc in every ch sp for a total of 58 hdc altogether. Ch 1 and turn.
Step 3: Sl st in 1st st. Place 3hdc in the next st. Sl st. Repeat until you reach the final 2 sts. Place sl sts in each of the remaining 2 sts. Fasten off leaving a long tail for sewing.
Step 4: For this rose you will take the end with the tail for sewing and begin to coil the piece. Carefully sew it together so that all parts overlap and resemble a rose. Do not fasten off yet. ***Scroll all the way down for the final step.
Leaf (make two)
Use dark green yarn
Step 1: Ch 10
Step 2: In 2nd ch from hook you will work your way down with: sl st, sl st, sc, hdc, dc, dc, hdc, sc, sc in each of the 9 ch spaces. Do NOT turn.
Step 3: You will work your piece on the other opposite side of the ch spaces you just worked. In the next 9 ch spaces work: sc, sc, hdc, dc, dc, hdc, sc, and finish with a sl st in each of the last 2 sts. Fasten off leaving a long tail for sewing.
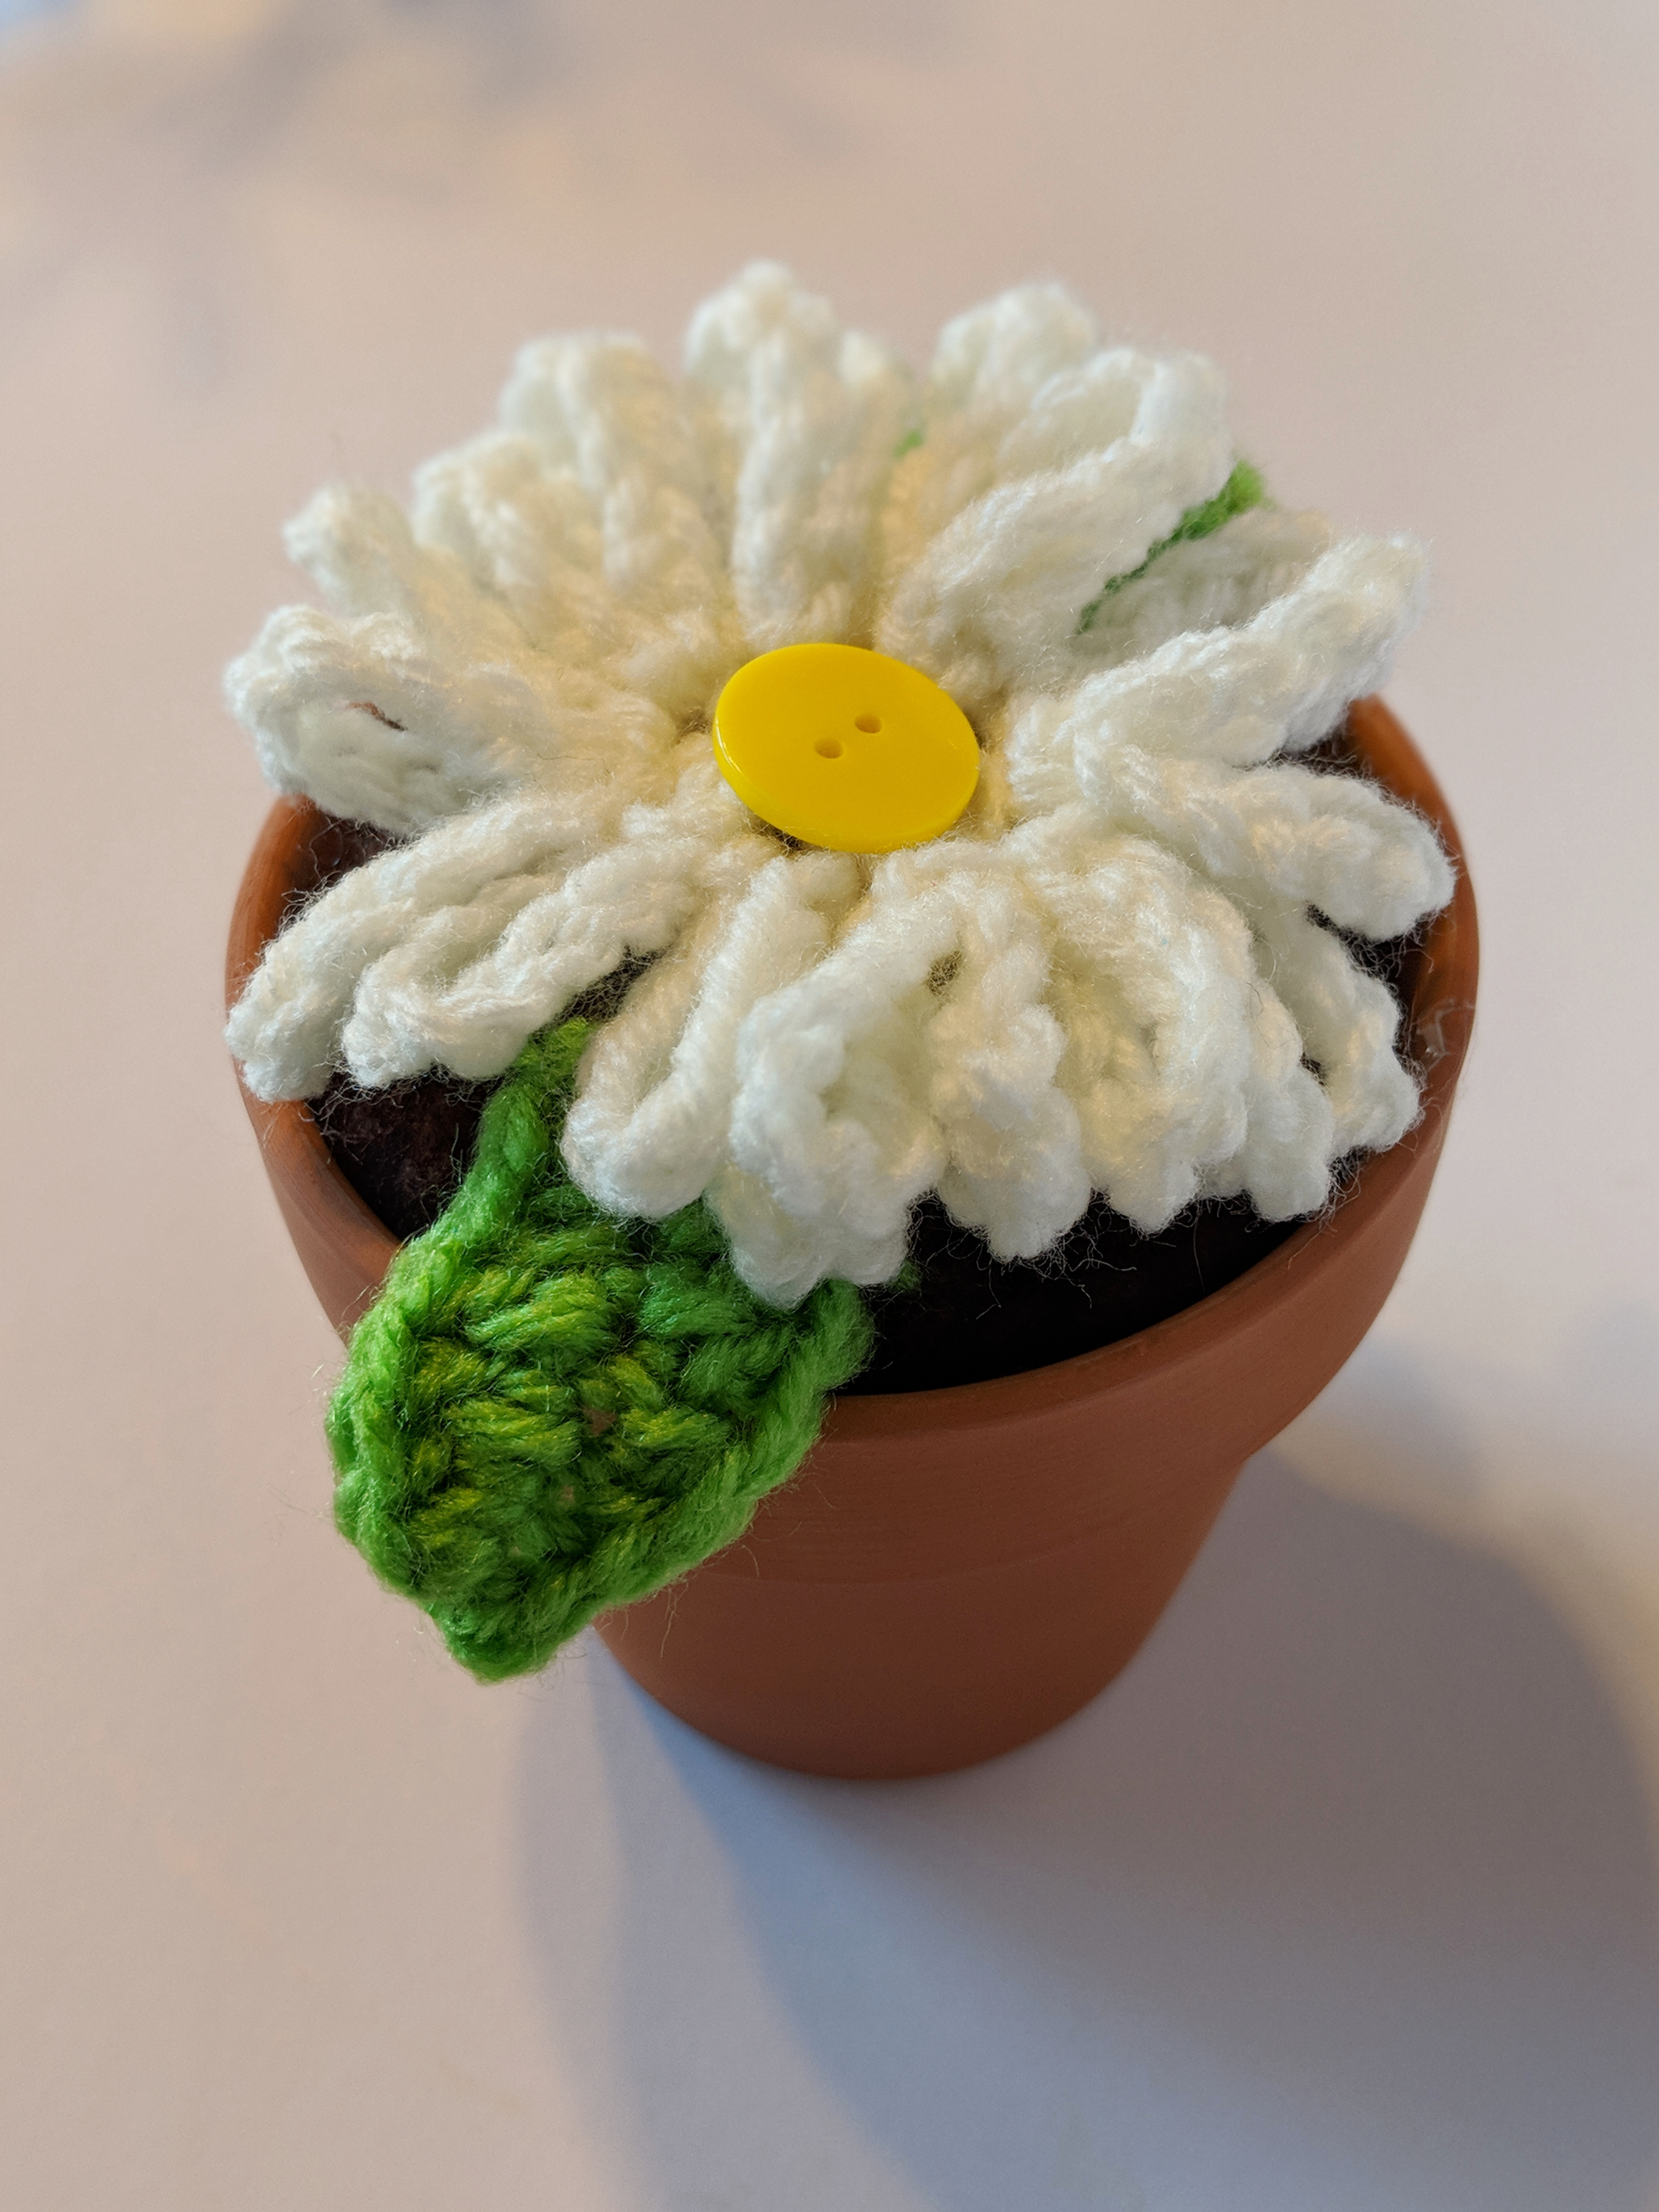
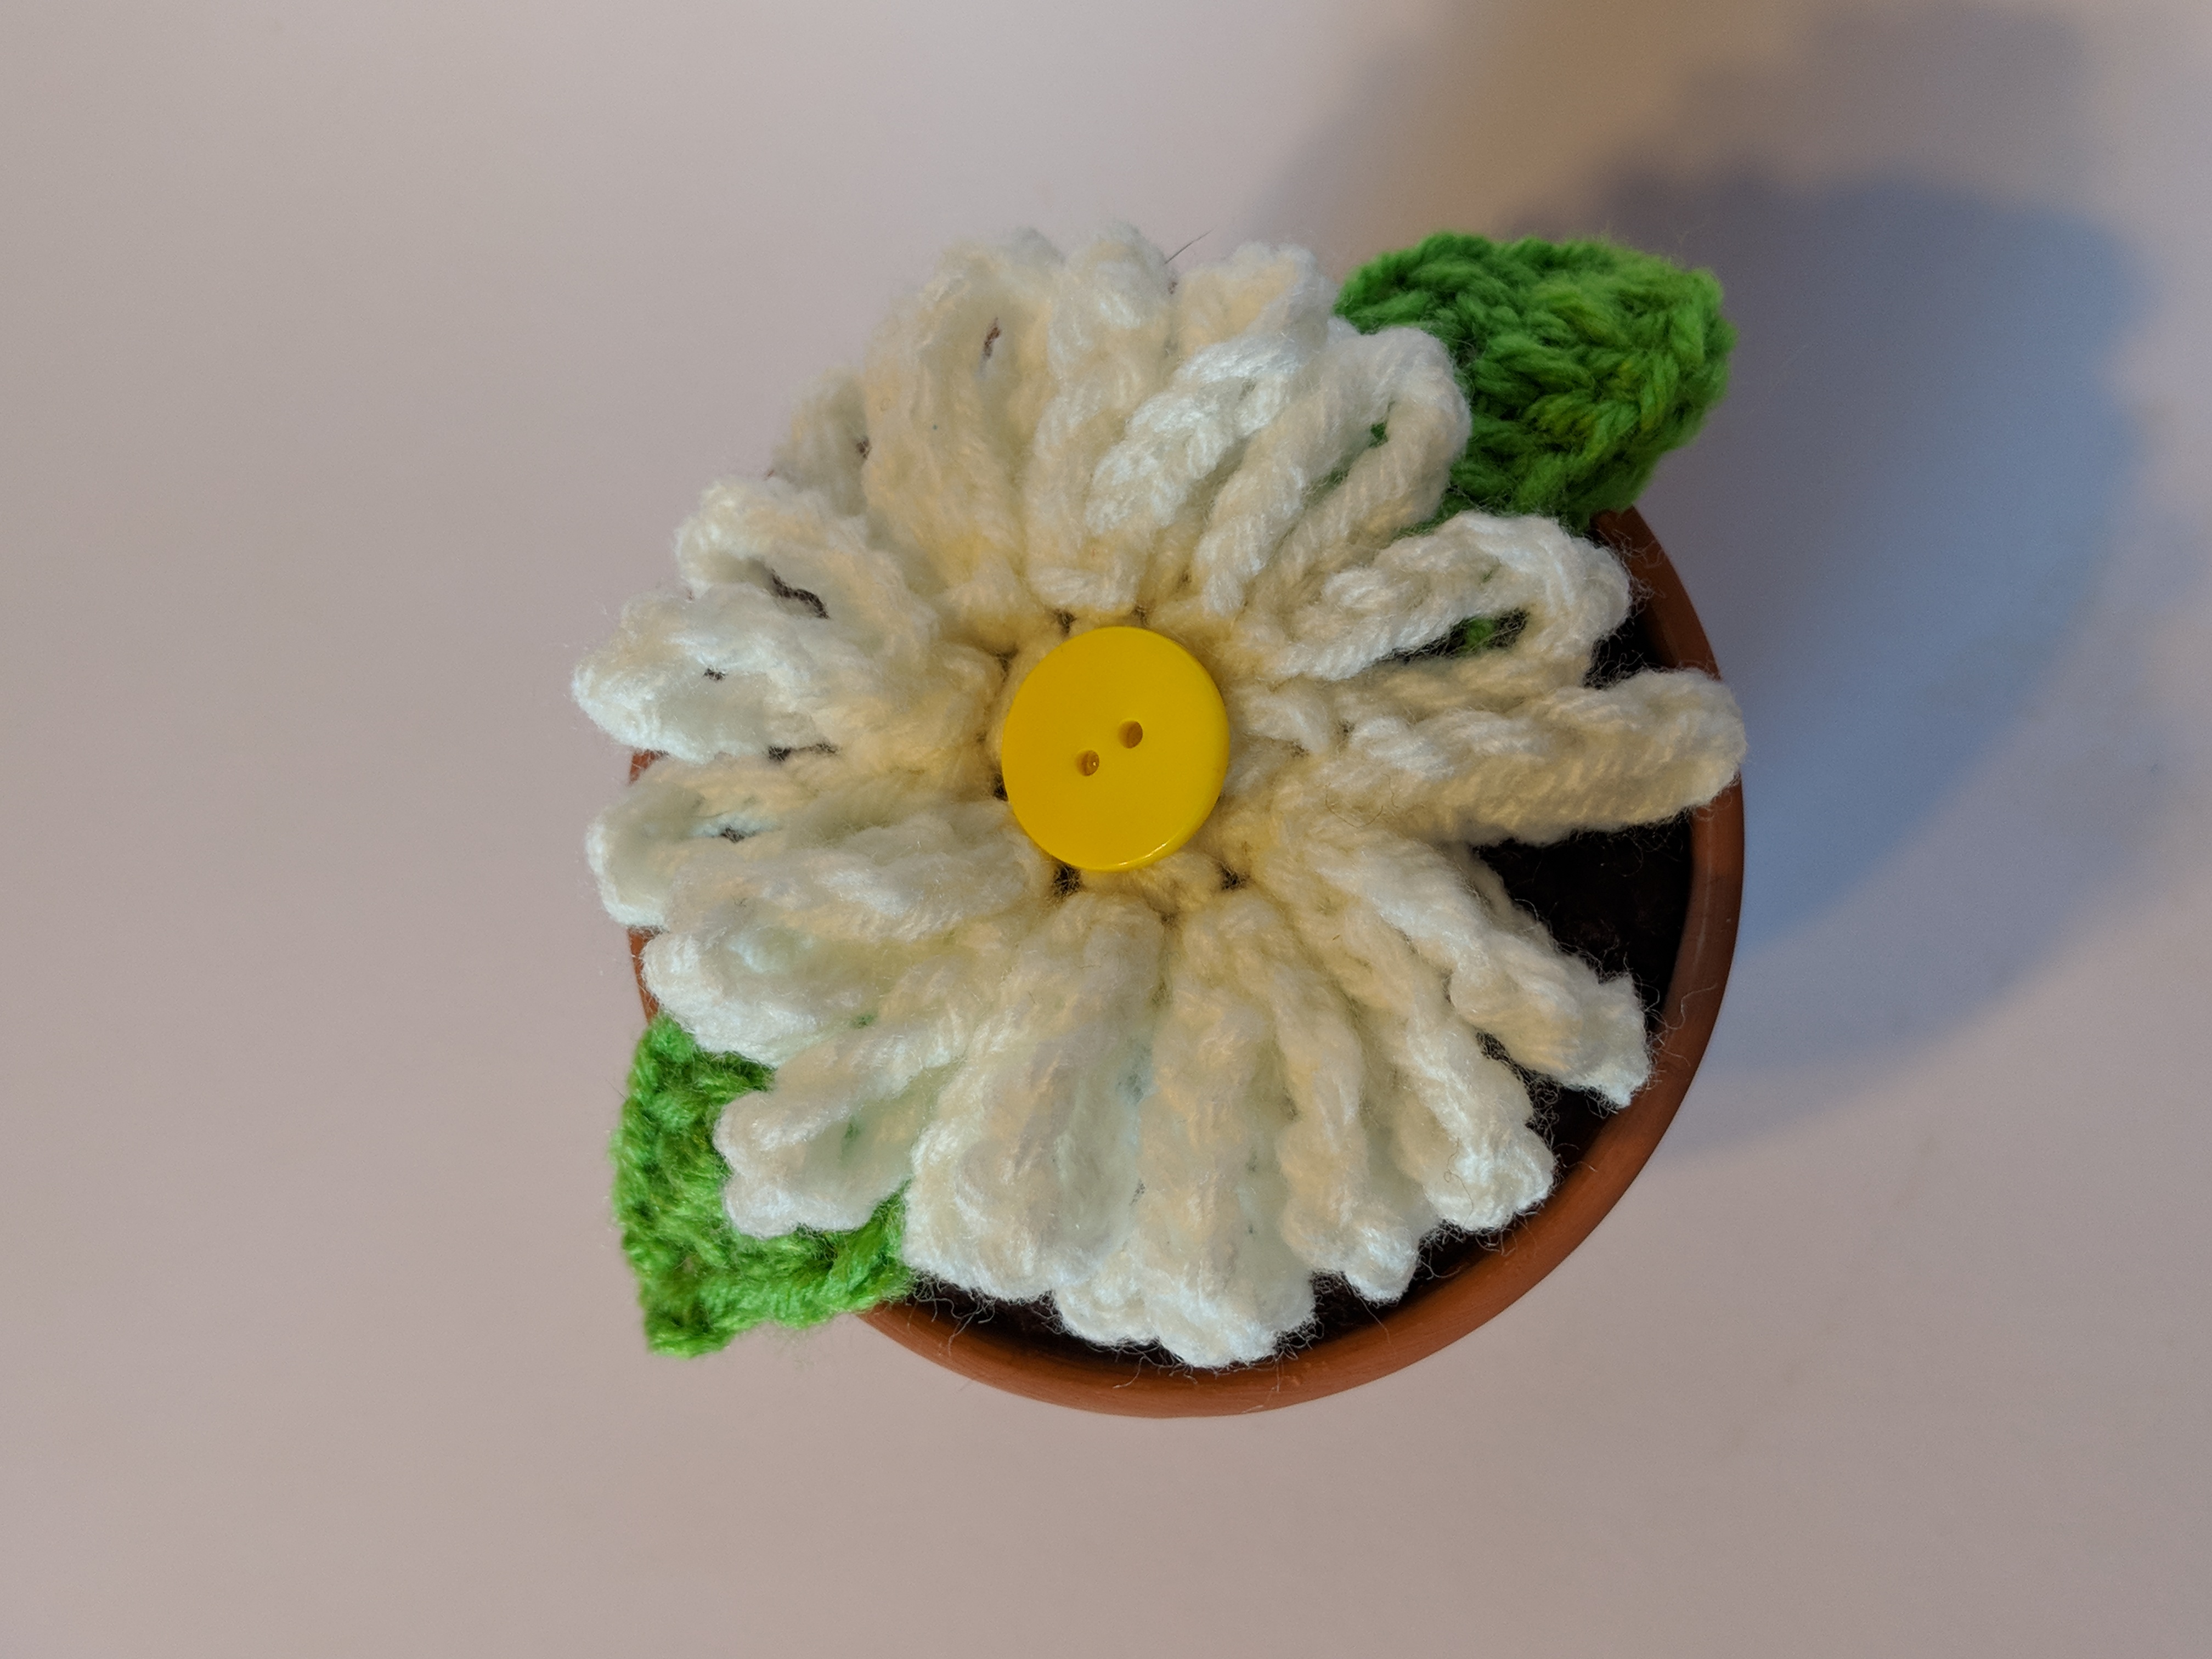
Daisy
Materials:
- 3.5mm crochet hook
- Acrylic yard in colors lime green, and white
- Embroidery Needle
- Polyfil Stuffing
- One medium sized yellow button
- Terra cotta pot that is around 3.5-4inches in circumference.
- Hot Glue Gun
Daisy Flower
Use white yarn
Step 1: 5 sc in a magic circle
Step 2: inc in each st around (10)
Step 3: sl st in 1st st. Ch 10. sl st in same st. Ch 10 again. Sl st once more into the same st. This will create your first petals.
Step 4: Repeat step 3 all around for a total of 18 more petals. Finish with a sl st. Fasten off leaving a long tail for sewing.
Leaf (make two)
Use lime green yarn
Step 1: Ch 10
Step 2: In 2nd ch from hook you will work your way down with: sl st, sl st, sc, hdc, dc, dc, hdc, sc, sc in each of the 9 ch spaces. Do NOT turn.
Step 3: You will work your piece on the other opposite side of the ch spaces you just worked. In the next 9 ch spaces work: sc, sc, hdc, dc, dc, hdc, sc, and finish with a sl st in each of the last 2 sts. Fasten off leaving a long tail for sewing. ***Scroll all the way down for the final step.
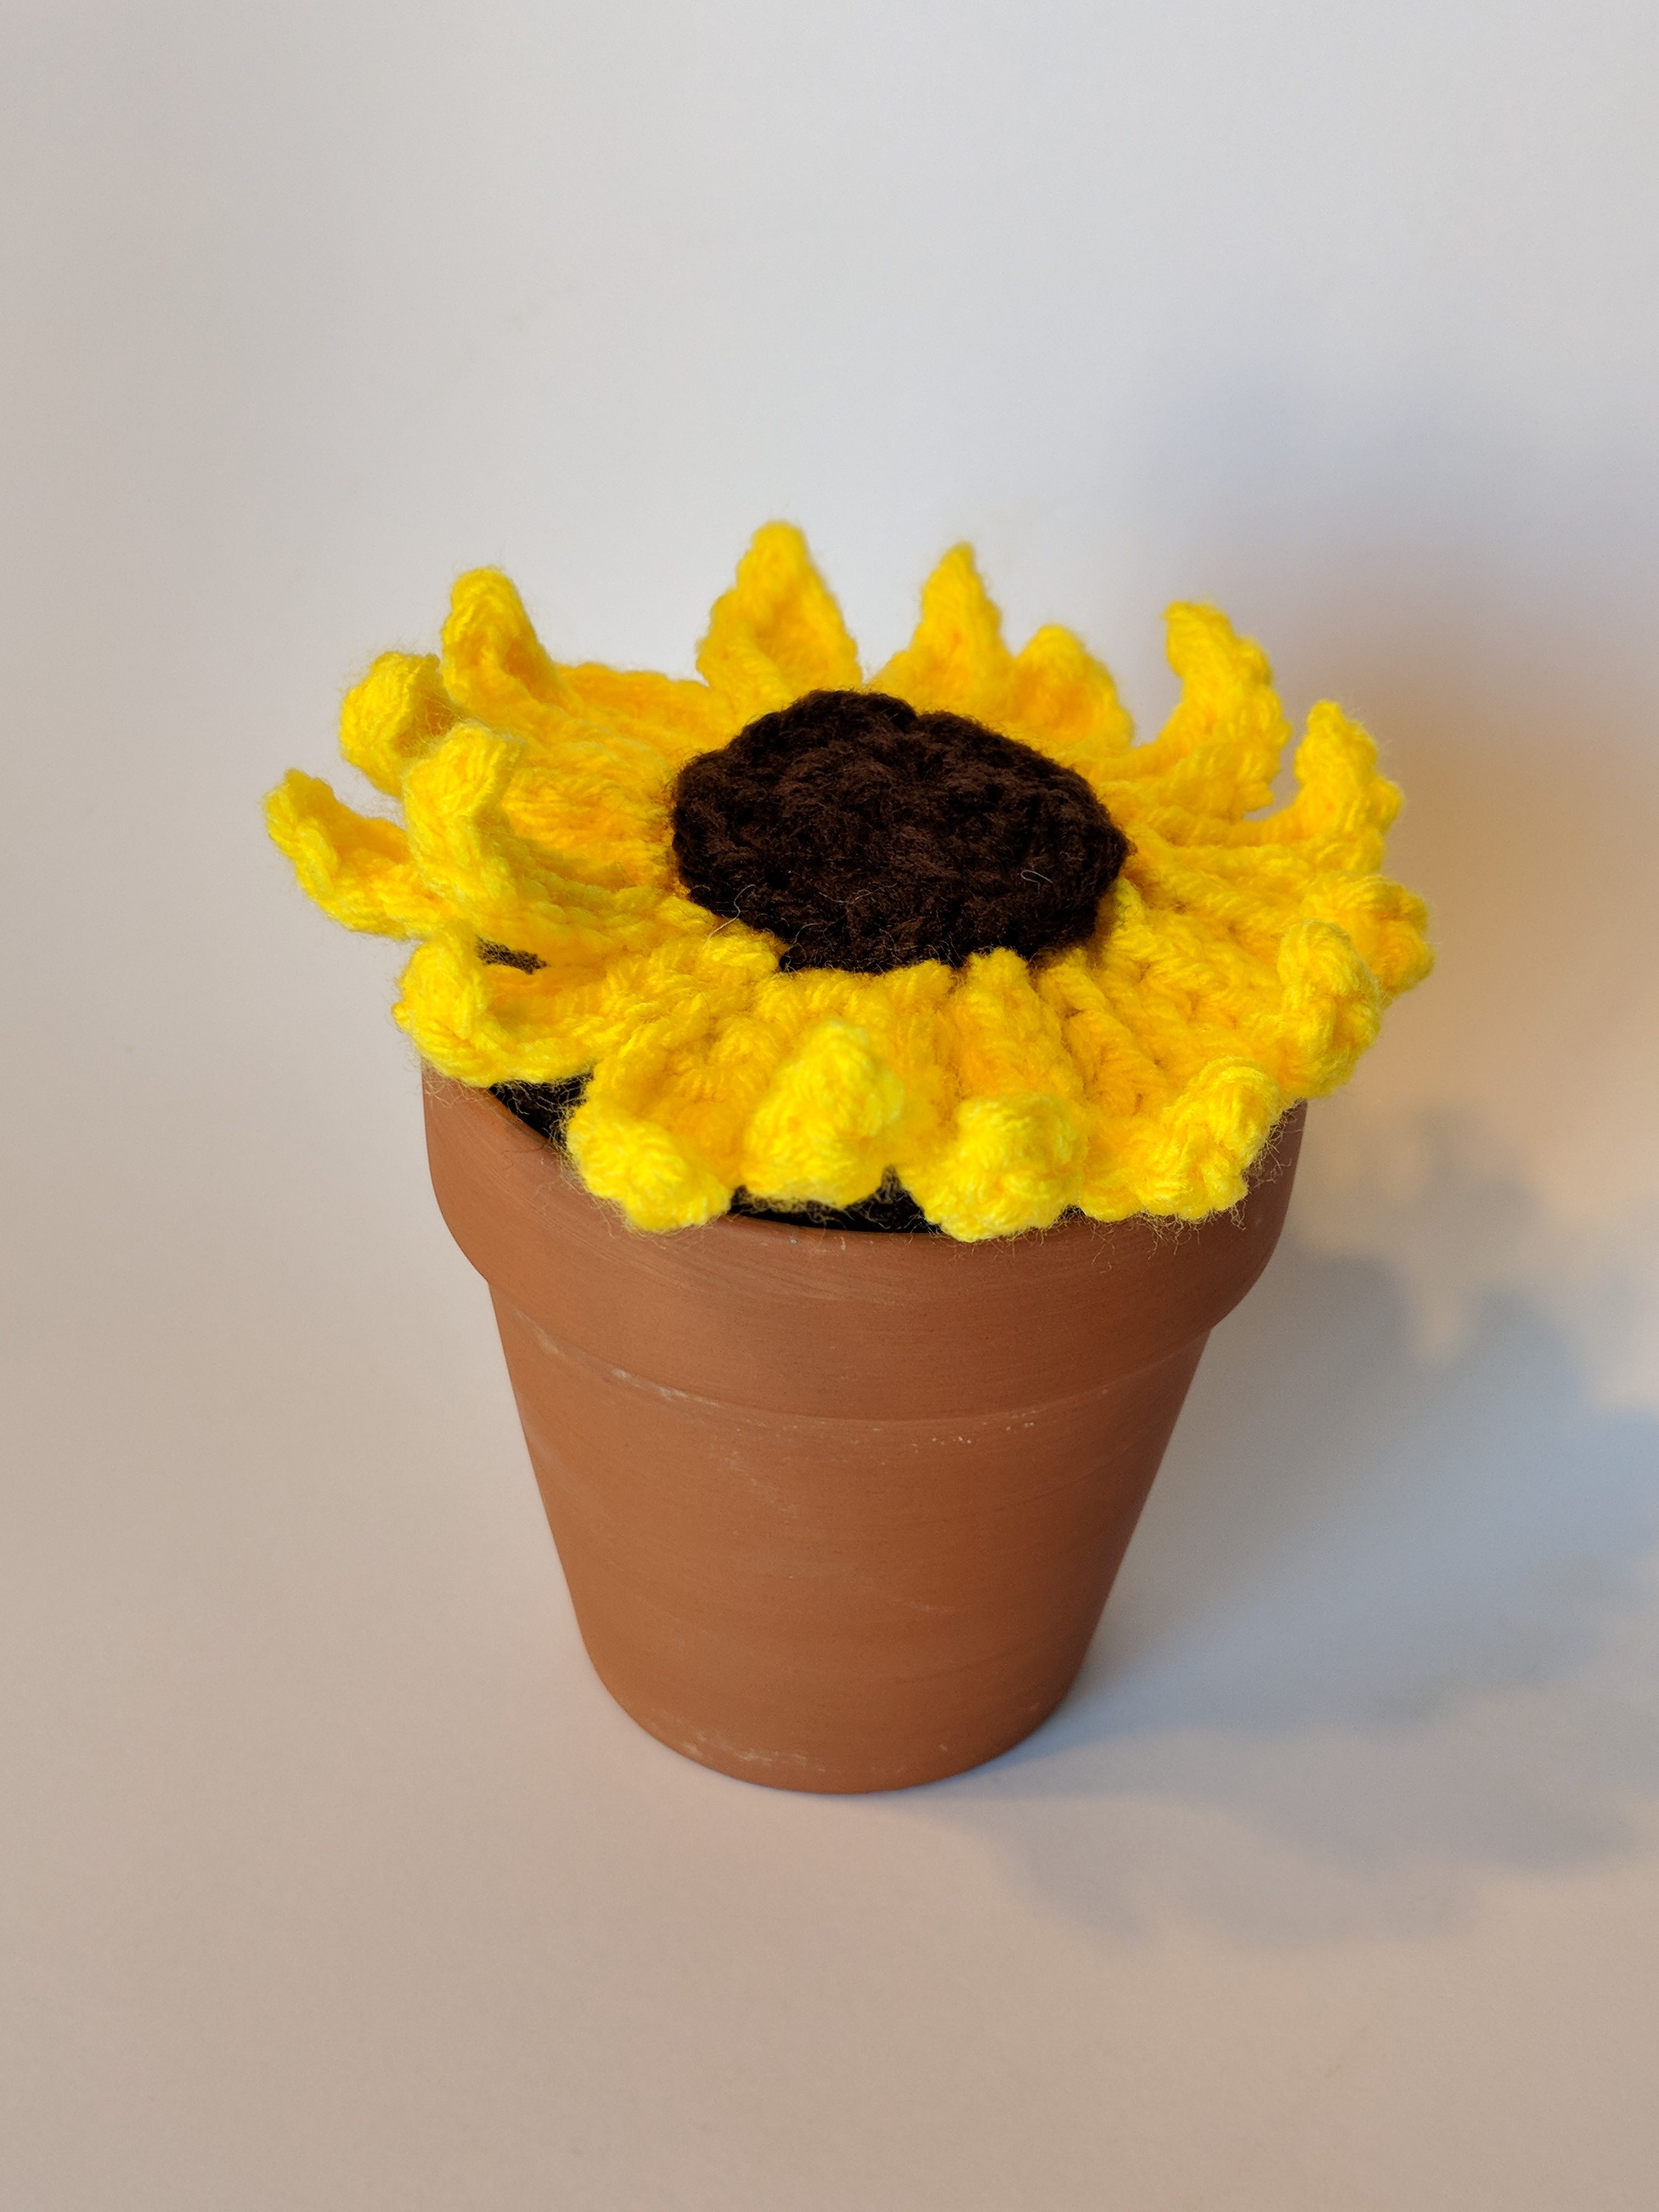
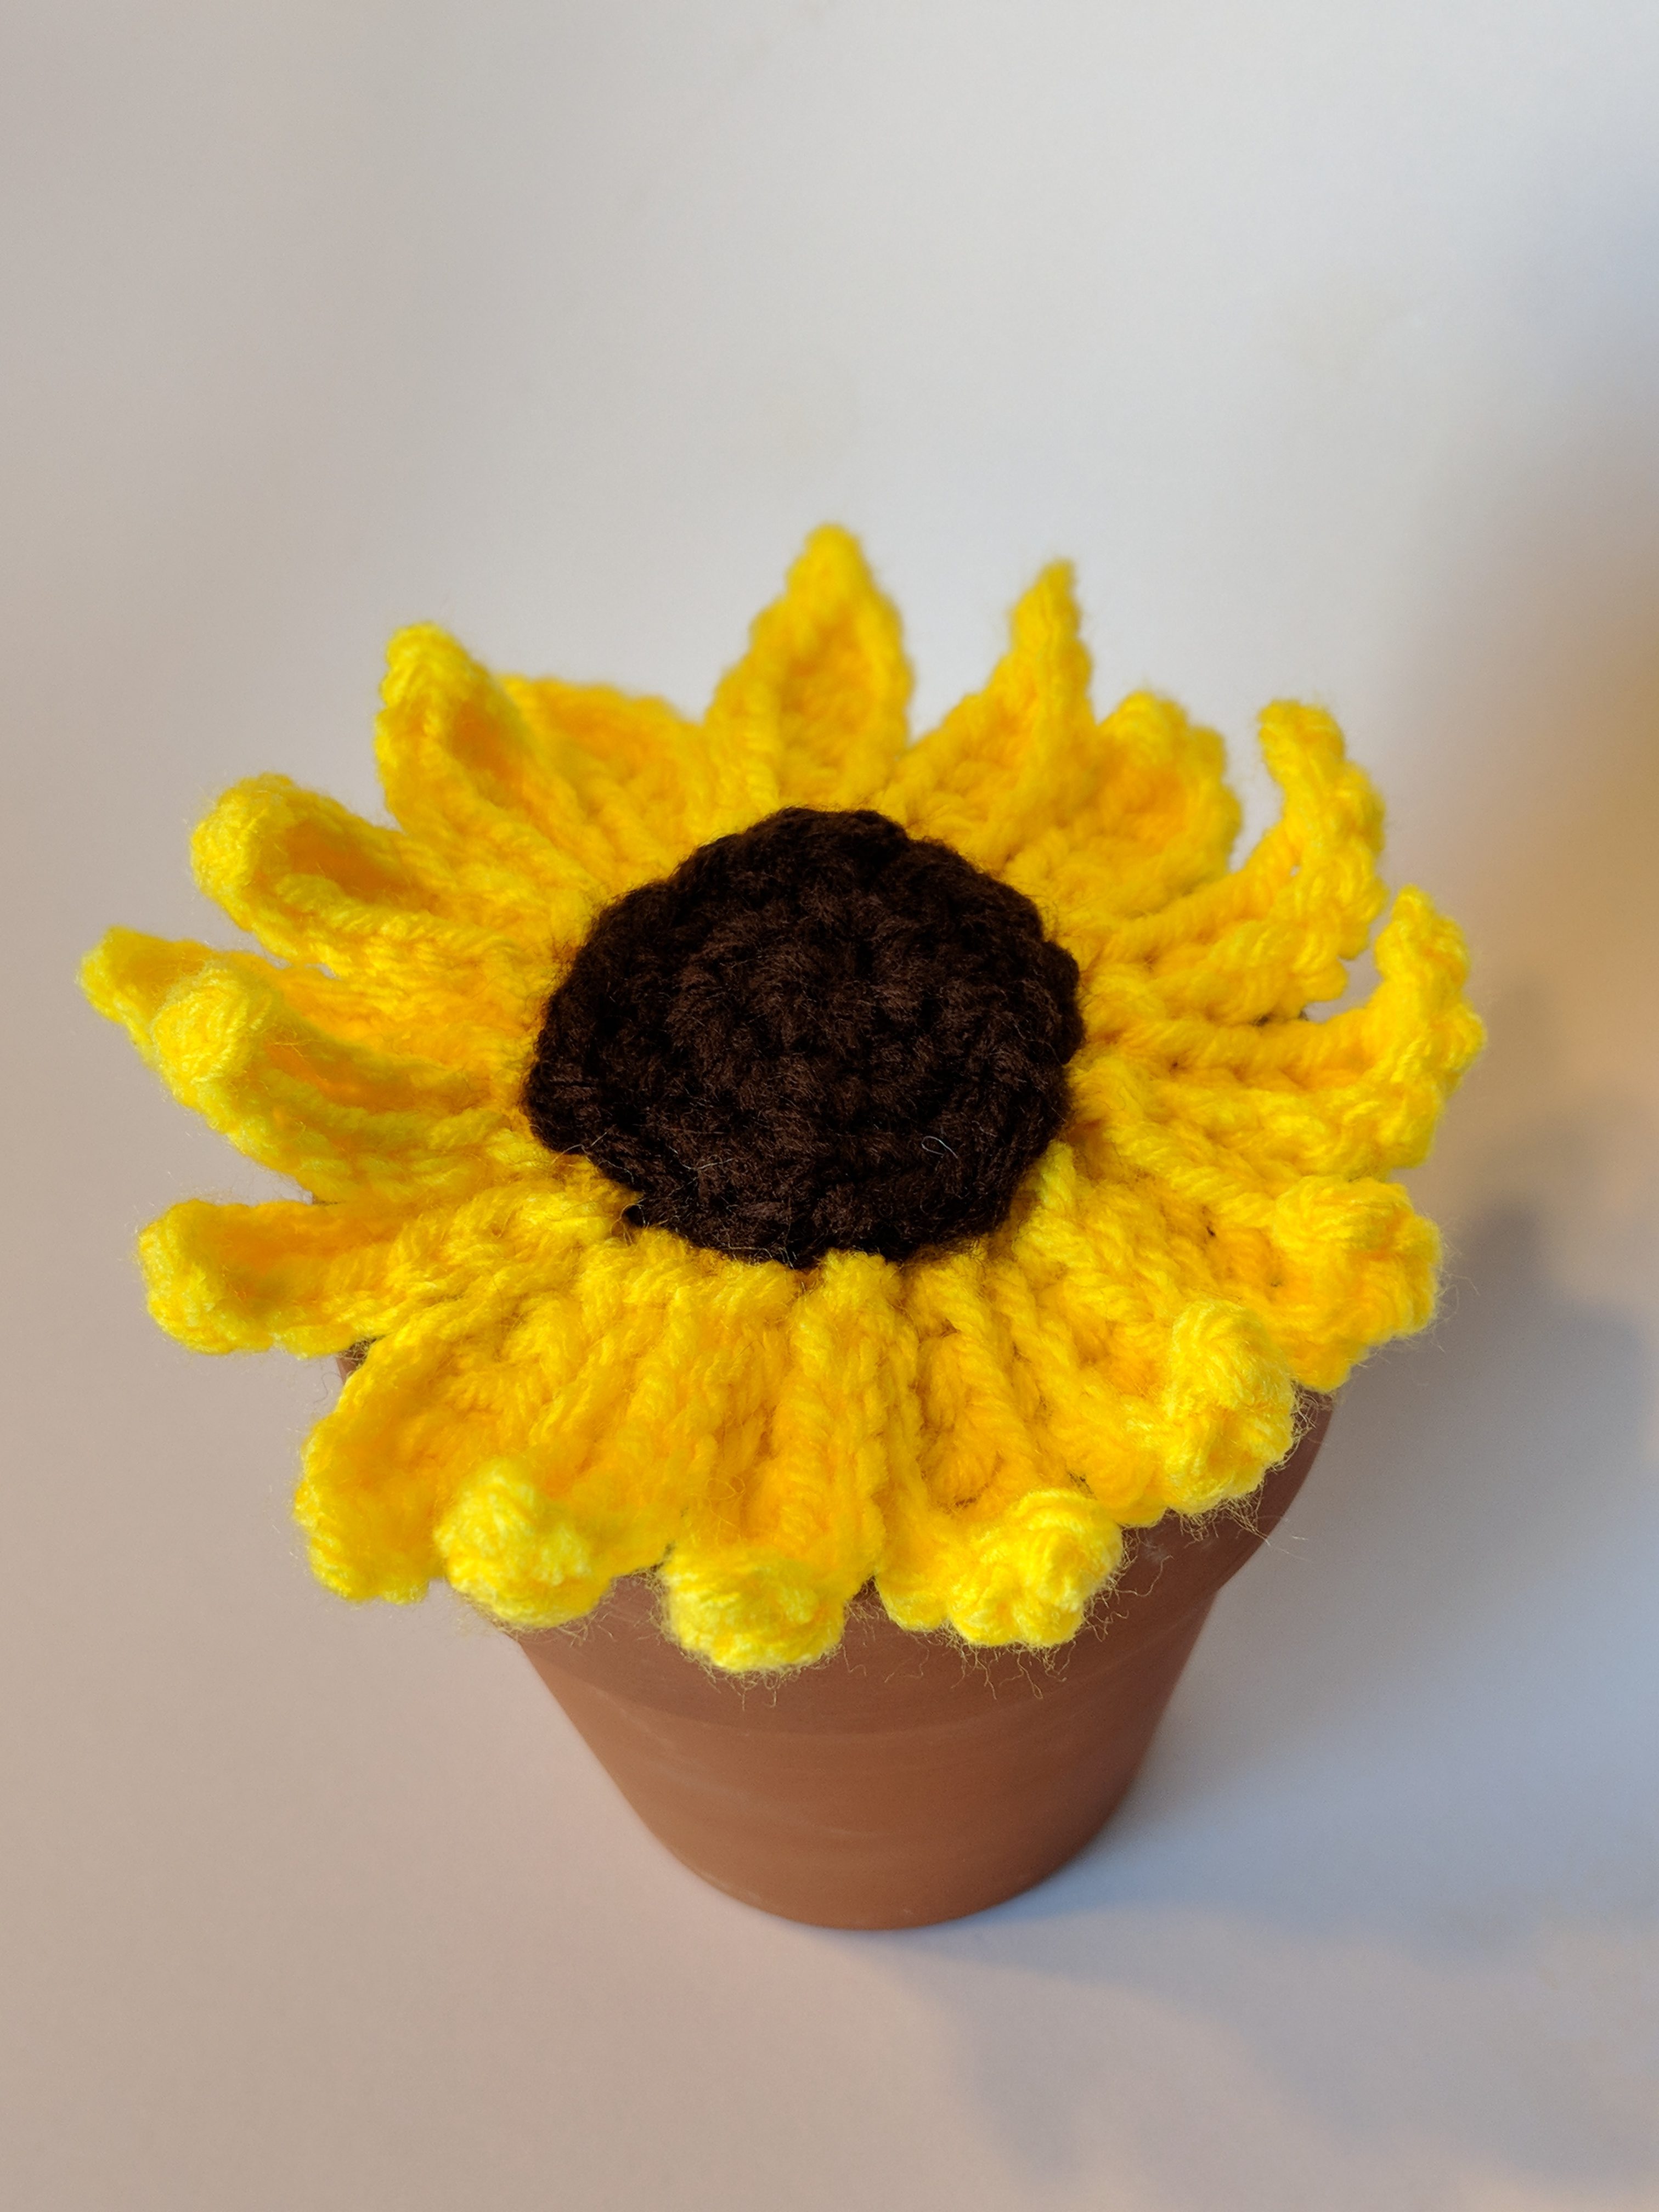
Sunflower
Materials:
- 3.5mm crochet hook
- Acrylic yard in colors yellow and dark brown
- Embroidery Needle
- Polyfil Stuffing
- Terra cotta pot that is around 3.5-4inches in circumference.
- Hot Glue Gun
Sunflower
Use yellow yarn
6 sc in a magic circle
Step 1: inc in each st around (12)
Step 2: sc in 1st st, inc in the next st; repeat around (18)
Step 3: Here you will form the petals. Sl st in next st. Ch 7. Starting from 2nd ch from hook and working your way down the ch you will: sl st, hdc, dc, dc, hdc, hdc
Step 4: sl st into next st. Repeat step 3. You will have 18 flower petals once you’ve finished. Fasten off and weave in all ends.
Sunflower Head
Use dark brown yarn
6 sc in a magic circle
Round 1: inc in each st around (12)
Round 2: sc in 1st st, inc in the next st; repeat around (18) Fasten off leaving a long tail for sewing. ***Scroll all the way down for the final step.
Final Steps
Spring Flowers: Attach each leaf to opposite ends of the dirt piece. Arrange and sew your flower pieces over top of the leaves, still allowing them to show a little, as well as covering the dirt piece. Take your hot glue gun and sew your three yellow buttons on top of your flower pieces to complete the look.
Rose Flower: Choose one side to attach your leaf pieces on the edge of your dirt piece. Sew your coiled rose on top of the dirt piece and leaves, making sure that the leaves still show.
Daisy: Attach each leaf to the opposite ends of the dirt piece. Sew your daisy on top of the dirt piece and leaves, making sure that the leaves still show. Hot glue the medium sized yellow button to the center of the daisy flower piece.
Sunflower: Attach the brown sunflower head to the middle of the flower piece. Attach the flower piece to the dirt piece.
You will now take your terra cotta pot and add hot glue around the entire inside as this picture shows:
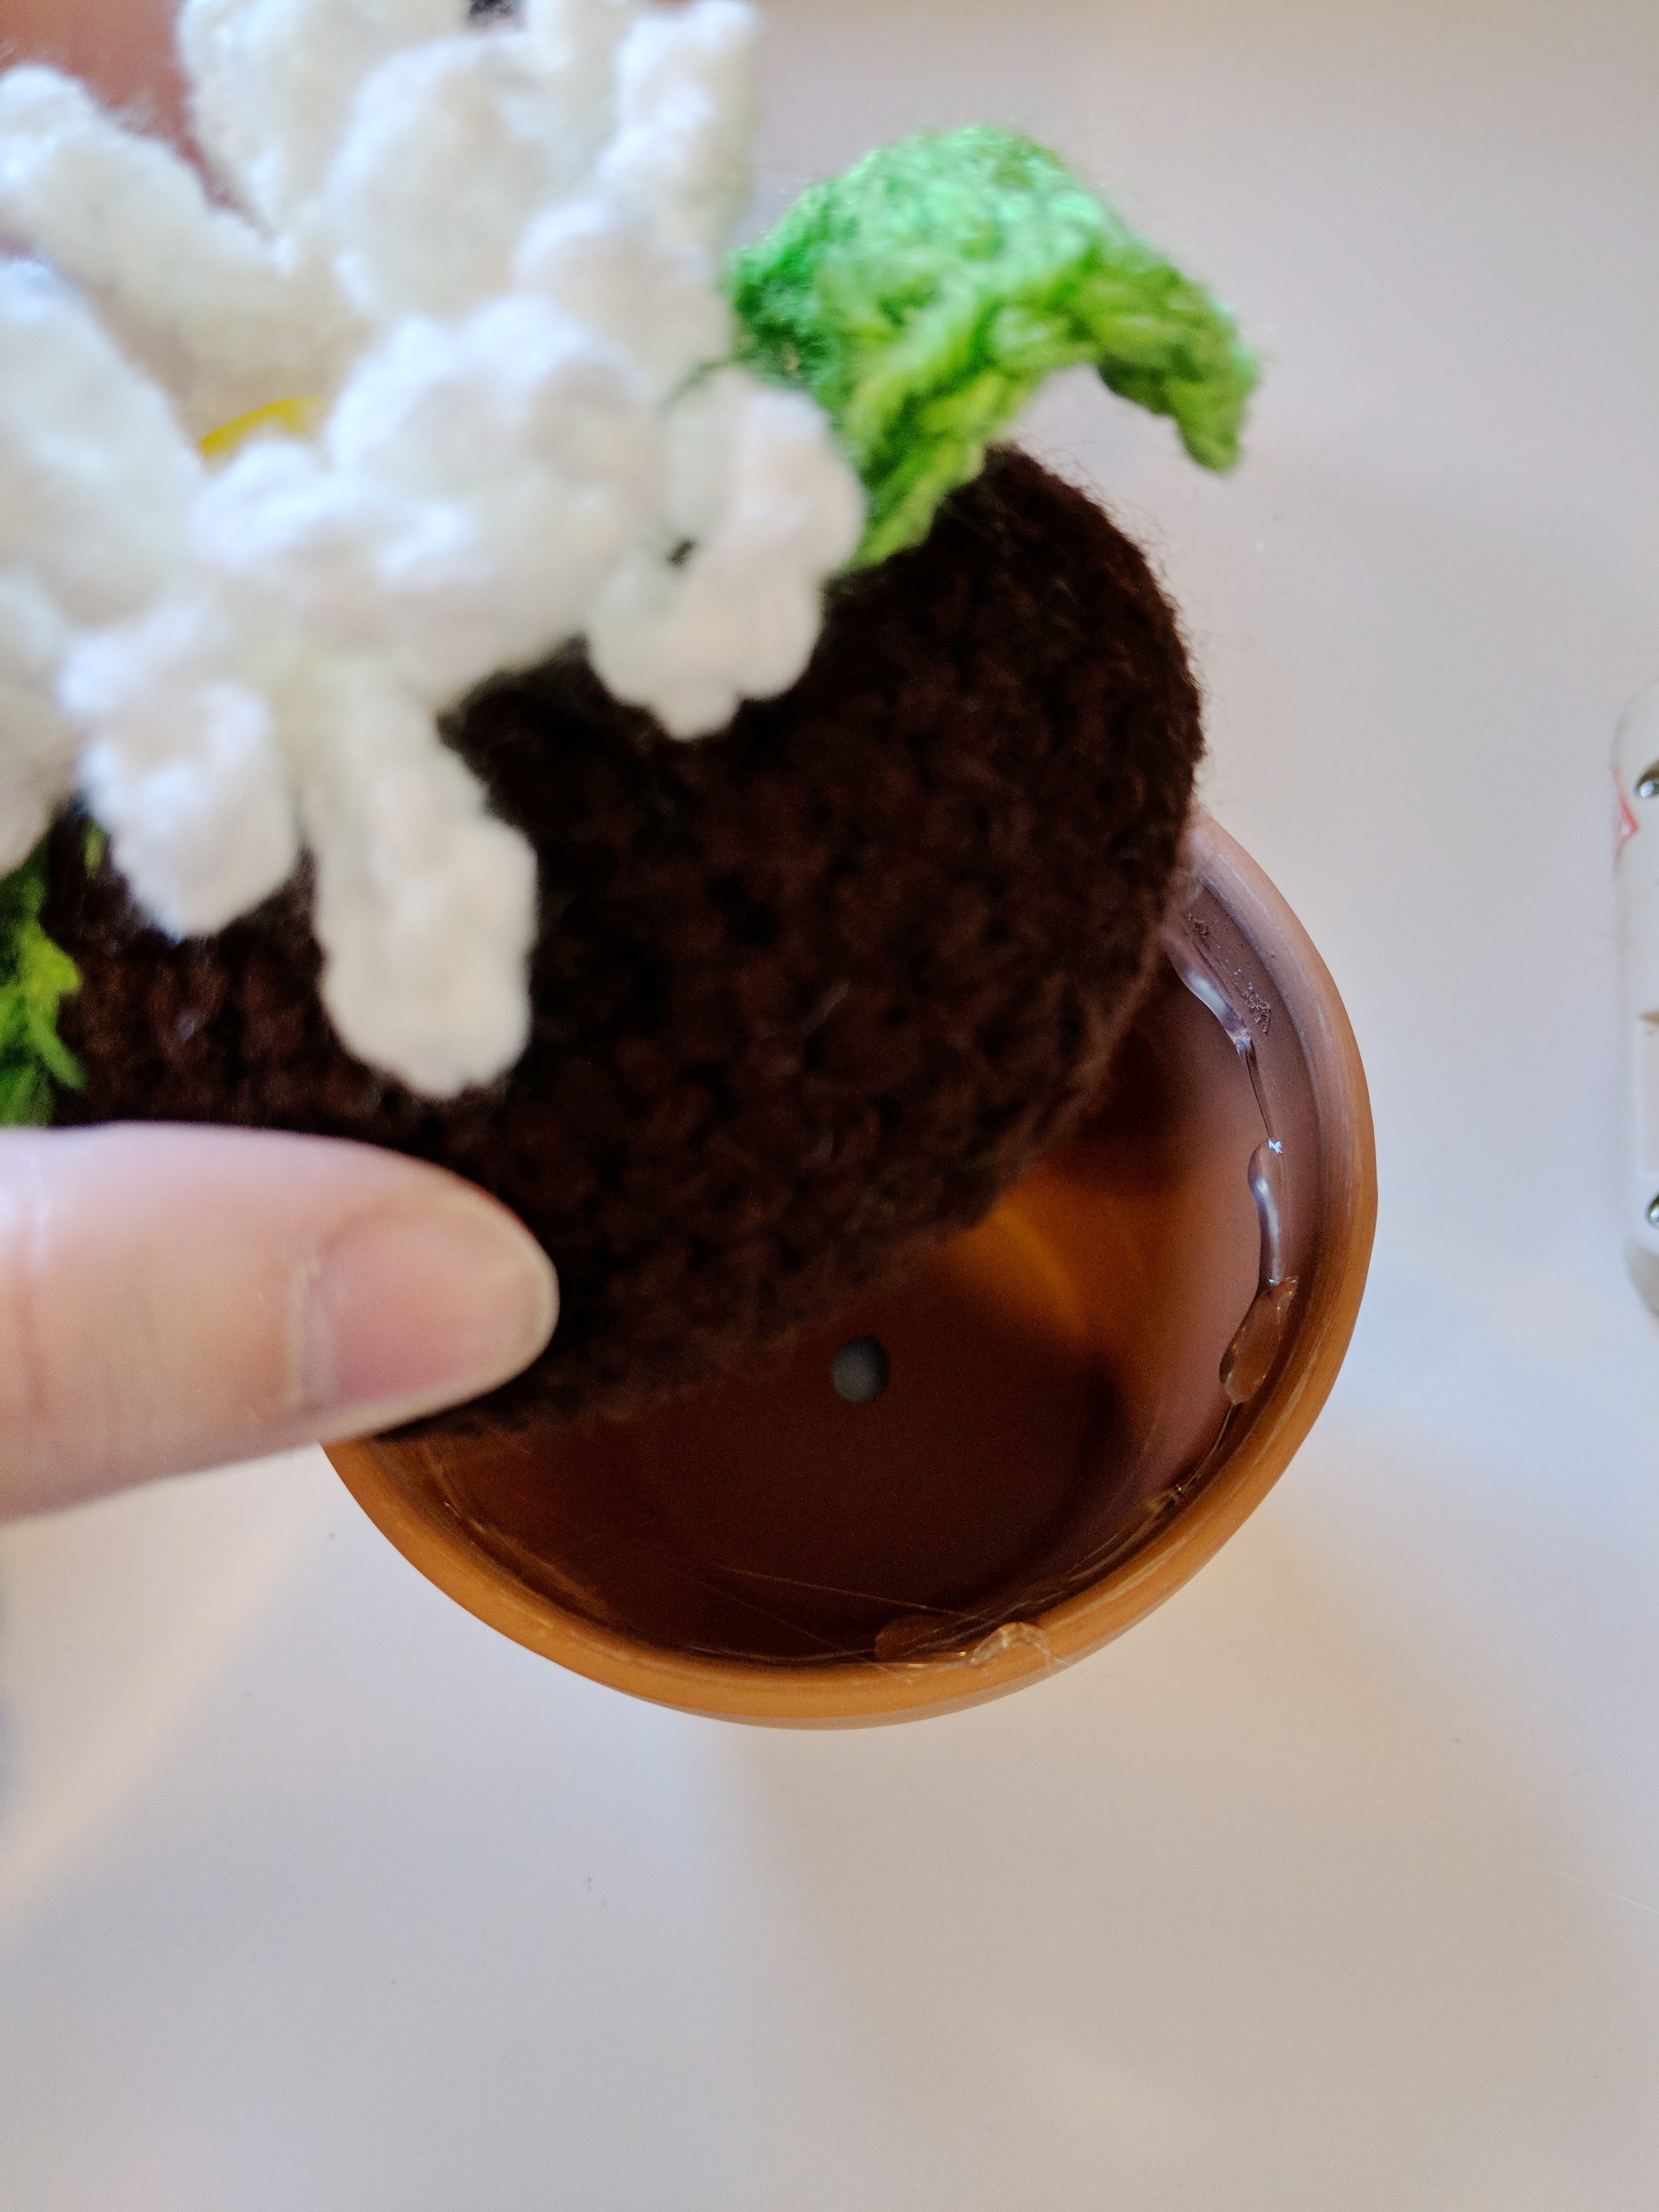
Quickly press your dirt piece into the terra cotta pot. It should have a snug fit. Wait a couple minutes for the hot glue to dry. After that, your crocheted potted flowers will be complete!
And really, that’s all there is to it! These are great because you can really make any flower work and if you’re like me and sorely lacking in gardening skills, you can still enjoy a house full of plants and flowers! Enjoy your spring and happy crocheting!
All designs & pictures are copyrighted by To Craft A Home 2018. Pattern is for personal use only and can’t be resold, republished, or redistributed in any way. You may sell the finished project if you so desire, but please give credit and link to my website www.tocraftahome.com or my etsy www.tocraftahome.etsy.com
Thank you for sharing these adorable flowers with the pots. They are beautiful.
You’re very welcome! Enjoy!
Absolutely great
I make gifts for my friends and family. These will go to them with love.
I totally understand about killing plants! I used to have really green fingers then they turned to black thumb! I even killed and air plant! I was told that was practically impossible but I managed it lol. Thank you for these lovely patterns xx
I am so glad you like them! They really do liven up an area! Enjoy!
Thanks for sharing this pattern. Instead of earth I put a pipe cleaner attached to back of each flower and assembled in small pots or on one larger pot .
That is a great idea!